
Back.
Fall-not-fall.

My old friend Jeff rightfully made fun of me last week for implying summer was over despite fall not actually starting for another (then) 20 or so days. And of course, at least around here, we can expect a few more weekmonths of 90+ degree days, followed by some rain, some more 90 degree days, and suddenly it’ll be Januvember and an ice storm will have covered everything with a thin shell of slowly melting danger like the world’s worst backwards M&M.
Yeah, I guess I’m back to talking about the weather.
Scientifically, it’s not fall yet. Socially, it definitely is. Every morning and evening there are busses and cars lining my street to drop off and pick up kids. The stores have whole aisles of back-to-school stuff. People are yelling about football. The American kind with the pointy ball. So Jeff, you’re wrongright. It’s fall-not-fall.
This week’s menu is a back to school special. Inspired by … well, to be honest it’s inspired by the sort of thing that was handed to you on a strange institutional tray with individual compartments. Which would have meant the various components of a meal wouldn’t touch, and wouldn’t be contaminated by their neighboring foodstuffs. But of course that would only have been true if each compartment were filled with intention and care – something that’s essentially impossible when faced with a long line of screaming hungry children in a school hallway wedged between a tiny “kitchen” and multipurposegymtheatercafeteriadetention room full of fold out tables and a huge rope hanging from the ceiling. I had even originally planed to buy one of those toothpaste green trays for the photos, but that seemed both excessive, and a way to ensure that the photos were as unappealing as possible. I didn’t do that.
Eat Your Veggies
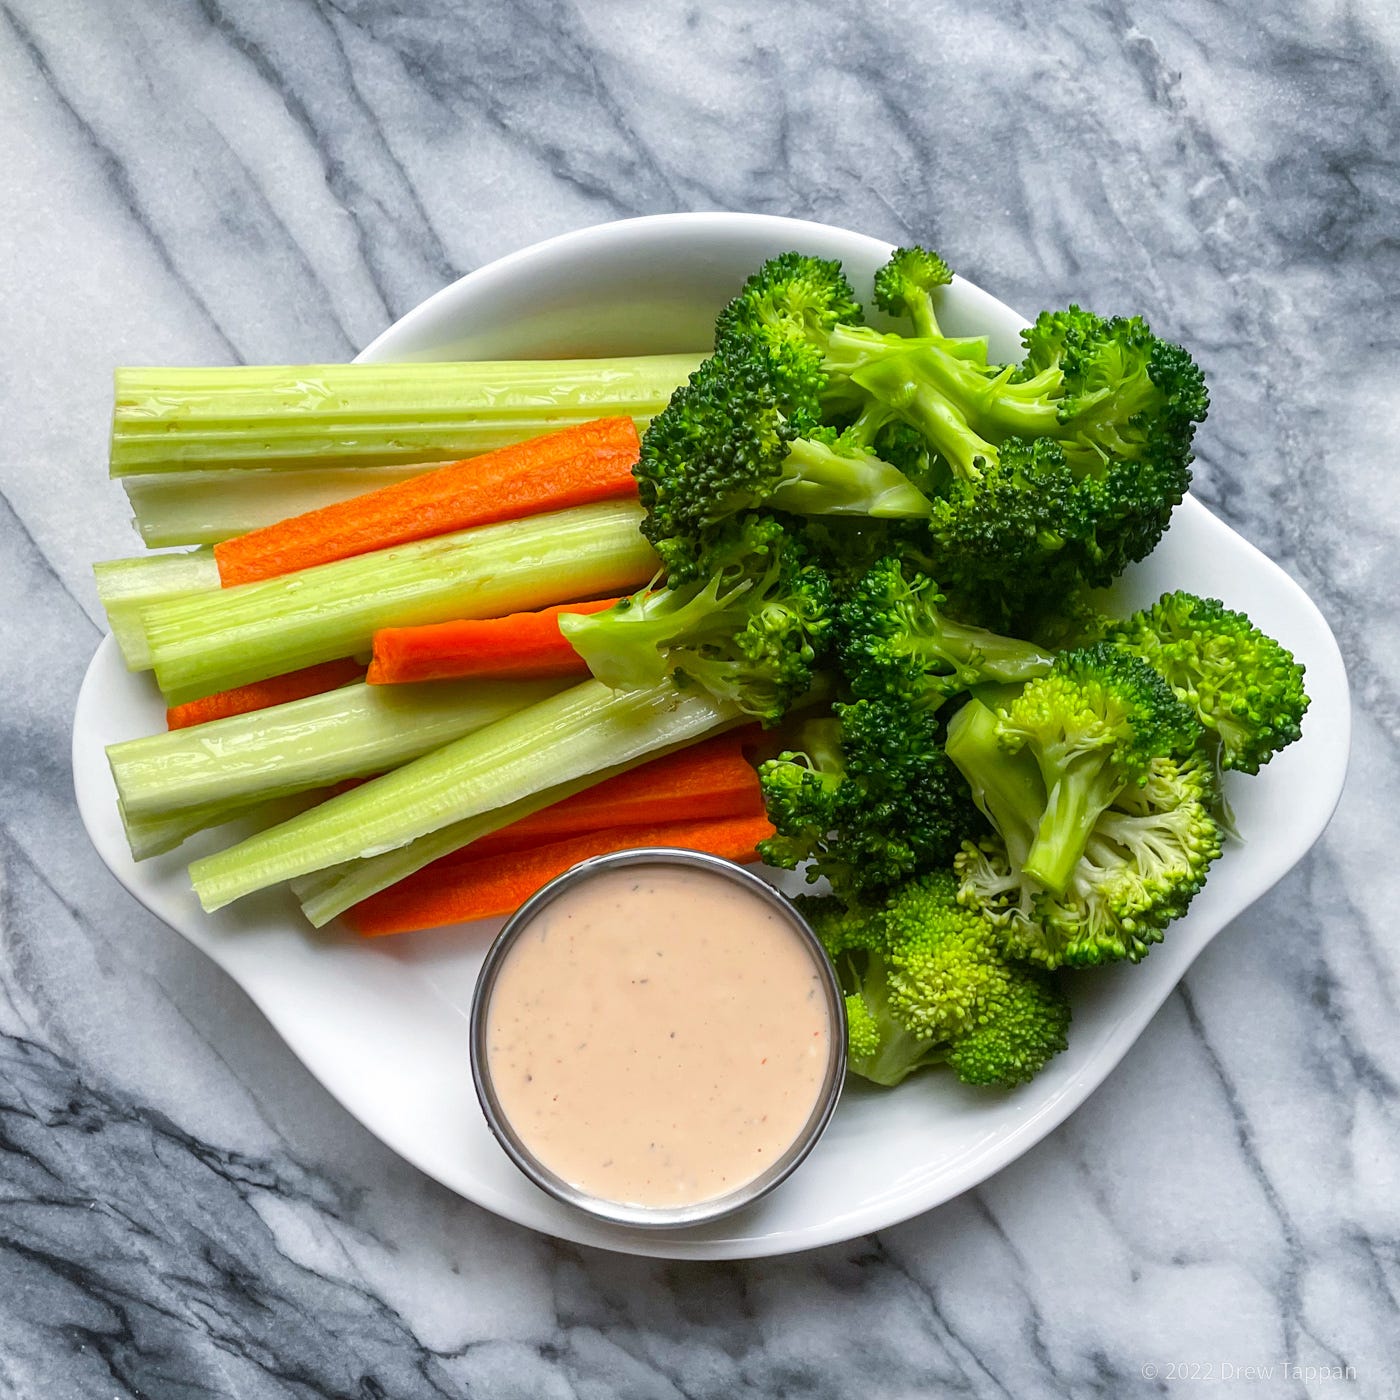
Ok, to be fair, this wasn’t an item that would have been slopped on to a tray in the 1970s-80s school lunch line I grew up with. It might sort of be now, but to be honest, as one of the kidless, I don’t actually know. I do know that it’s the sort of thing I’ve fed friendkidsneicesnephewsetc when faced with finding something to give the kids when the adults in the room are eating something intentionally gross like liver pate or caviar, and perhaps more importantly I know its something that’ll I’ll totally sneak a bit of because it’s simple and weirdly good.
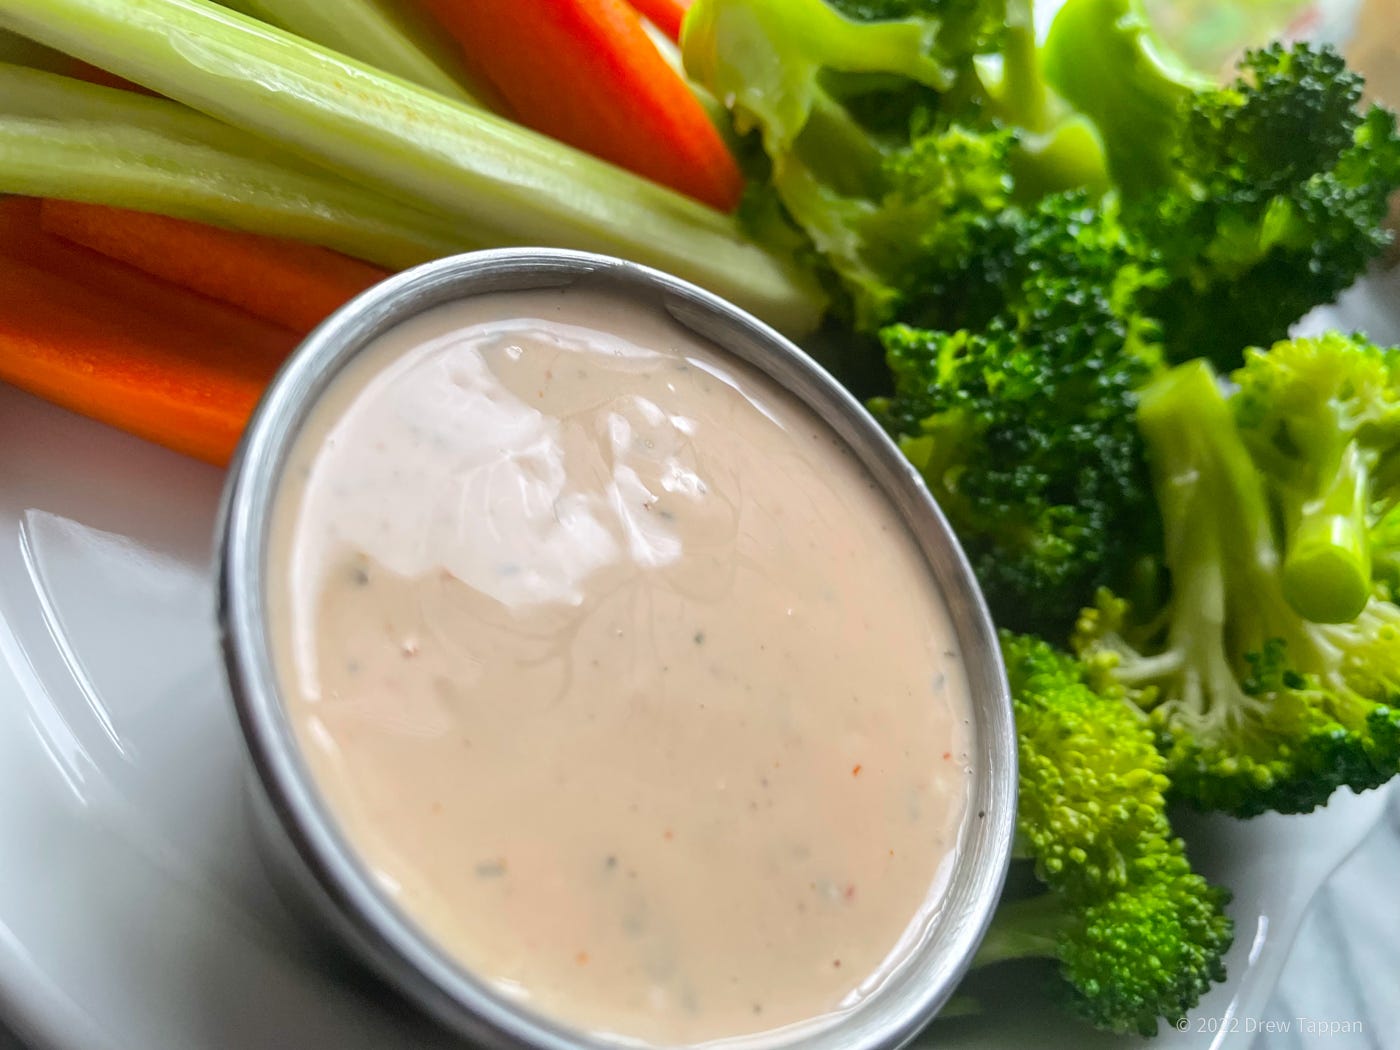
In essence, this is a fast, simple homemade ranch dressing – spiked with some barbecue sauce flavors. Because what’s better than ranch or barbecue sauce? Yeah. That’s right. Ranch AND Barbecue sauce.
Assorted vegetables, cut into bite sized bits
2 tbsp Mayonnaise
2 tbsp Greek yogurt
2 tbsp Ketchup
1 tbsp Worcestershire sauce
1 tbsp lemon juice
1 large clove garlic
1 tsp dried dill weed
1 tsp fresh ground black pepper
Peel, trim, and microplane the garlic into a non-reactive bowl.
Add the lemon juice and Worcestershire sauce.
Allow to rest for ten minutes.
Add the remaining ingredients (other than the vegetables) and whisk together until smooth.
Transfer to a covered container and chill for at least 1 hour before serving to allow flavors to combine.
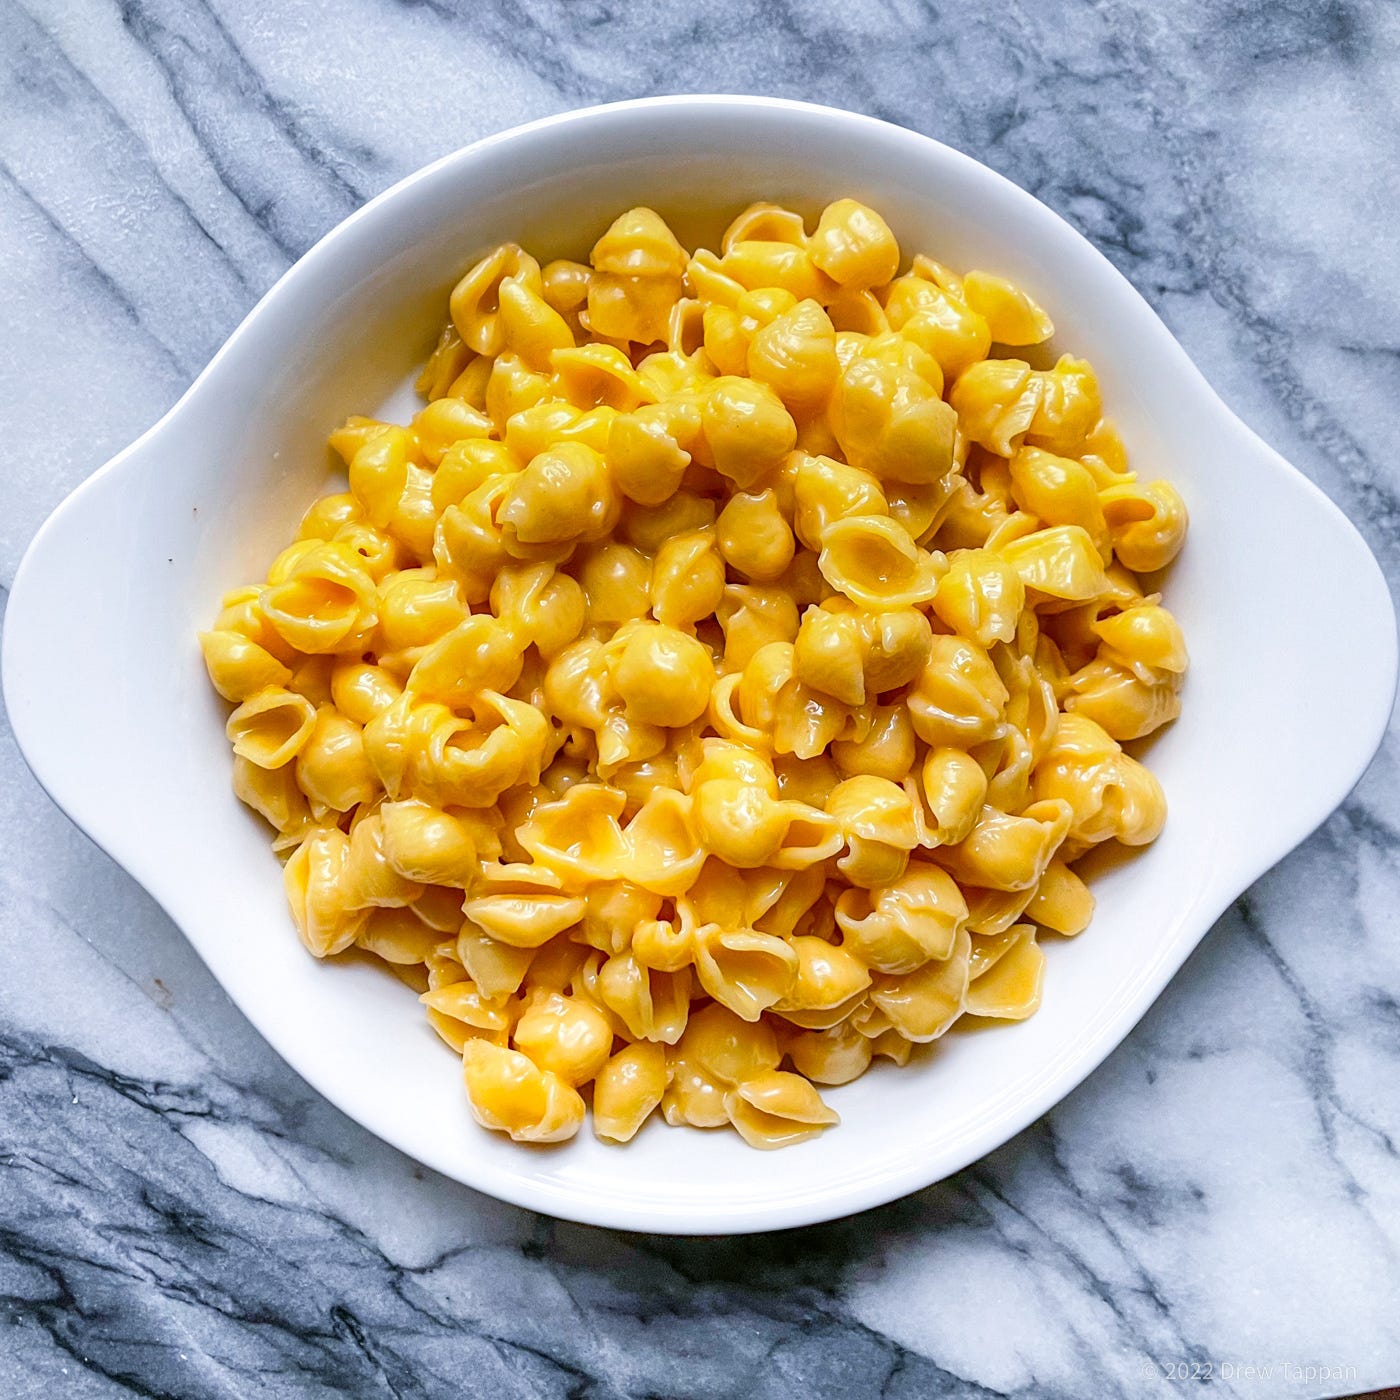
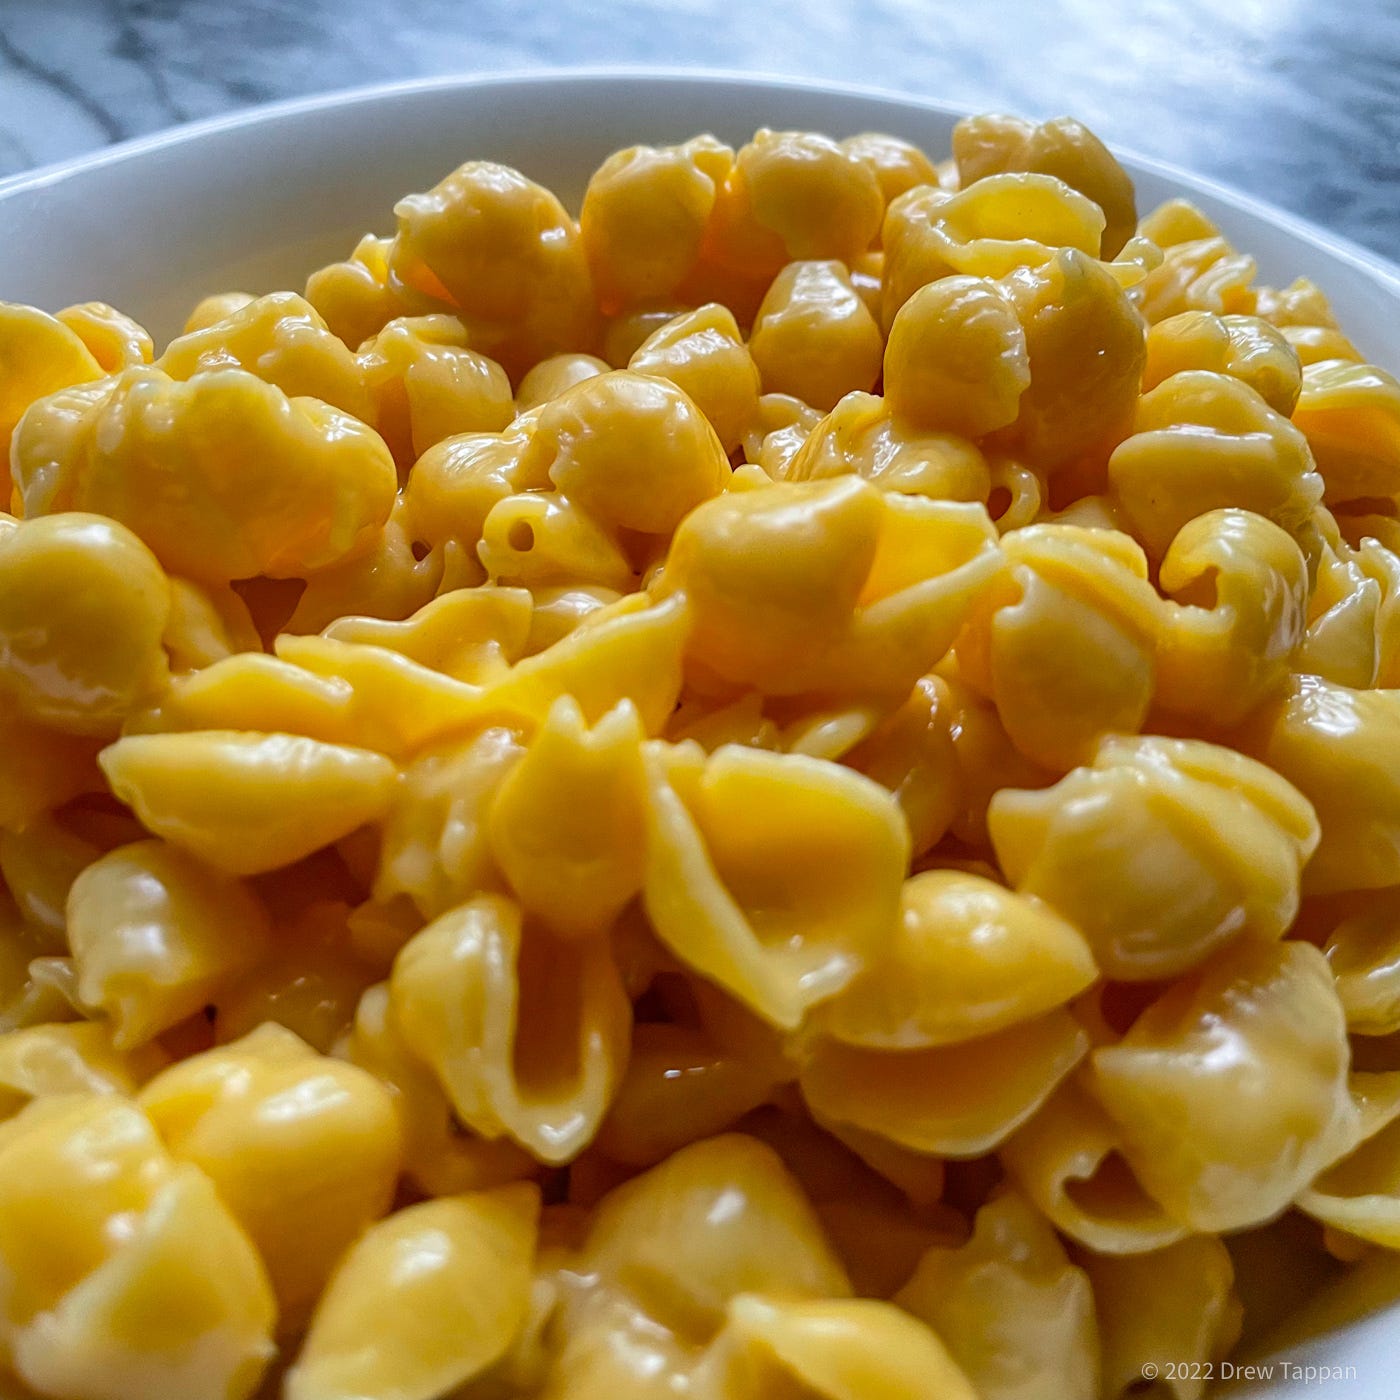
Shells and Cheese Because Kate Says the Shape Matters
A few years ago, when I discovered the bag of absolute magic that is sodium citrate, I pretty much stopped making old school Mac & Cheese. By old school, I mean the sort that involves making a bechamel, maybe topping it with breadcrumbs, baking things, sometimes even adding eggs. I’m not against old school mac & cheese, in fact it’s delicious.
But it’s not the same thing. Sure, it’s macaroni and its cheese, but every kid knows that mac & cheese is orange. It’s simple. It’s Mac & Cheese.
Only this is shells and cheese because Kate says that’s the shape she likes.
Sodium citrate is a naturally occurring salt or citric acid. I of course get it from a bag I ordered online, but it can be found in some beers and fruity wines – the kind that were used for century to make smooth emulsions of cheese for things like fondue. It allows you to smoothly and evenly melt cheese into things that it might not otherwise melt into. That means you can make a sauce for mac & cheese that’s … well, basically just cheese. That means you can make an exceptionally cheesy creamy sauce that’s not muted by other flavors.
½ lb small pasta shells
½ cup water
2 tsp sodium citrate
8 oz extra sharp yellow cheddar cheese
2 oz finely shredded parmesan cheese
1 tsp Dijon mustard
Cook the pasta according to the package instructions.
Shred the cheddar and parmesan cheeses.
Add ½ cup water and 2 tsp sodium citrate to a thick bottomed pan over medium heat.
Bring to a low simmer, stirring until the sodium citrate is dissolved.
Working a little at a time, whisk the cheeses into the water, working until melted and integrated.
Whisk in the mustard.
Add the cooked shells, and stir well to coat and warm through.
Serve warm topped with … well, whatever you want. I’m a fan of Franks Red Hot – ate that 3 days a week in High School and even more often in college
Extra Crunchy Potato Objects

We won’t call these by any sort of brand name, but you know what they are. The ones from the bag from the freezer from the store. The ones that went from weeknight whatever to comfort food you order at the bar. That end up in hot dish, or in the corner of that green plastic tray.
These are a homemade analog. They’re more of a technique than a recipe, as the ingredients themselves are pretty much just potatoes and some salt. But let me tell you, while these aren’t the same as the ones from the bag from the freezer from the store, they’re delicious. You can shape them into the same familiar barrel shape if you want, but I’ve found that the brick shape I’ve used in the pictures above produces an extremely crisp end result.

Technique wise, it’s important to stir while cooking them to slough off some of the starch you’ll want to get the potatoes to really stick together. Then chilling the potatoes allows that starch to set up into the sticky mess that holds it all together as you fry it.
Make sure the oil is at temp before adding the potatoes, and fry in small batches – as if they potatoes get hot before crisping up, they can fall apart.
Like the nuggets you’ll find below, these can be par-fried and frozen to be finished later – including in an air fryer. Unlike the nuggets, these can be a little fragile before they’ll fully frozen.
1 lb russet potatoes
1 tsp kosher salt
Neutral Oil for frying
Peel and trim the potatoes, removing any eyes or brown spots.
Cut the potatoes into 1/8 inch cubes/dice/brunoises.
Use a manoline or a very sharp knife to cut 1/8th in thick slices.
Cut the slices into long strips, then cut the strips into small cubes.
Place the potatoes in a large microwave proof bowl, and season with the salt.
Microwave to 8-9 minutes on high, stopping ever 2-3 minutes to stir.
The potatoes should be soft and sticky.
Press the potatoes into a plastic wrap lined sheet pan, pressing to form a sold block.
Refrigerate the potatoes for at least 2 hours.
Use a sharp knife to cut into blocks or shape any way you please.
Set up your fryer or a large dutch oven and heat the oil to 325°F.
Fry the potato cubes until crisp and brown.
Serve with ketchup, cheese sauce, or really whatever you want.
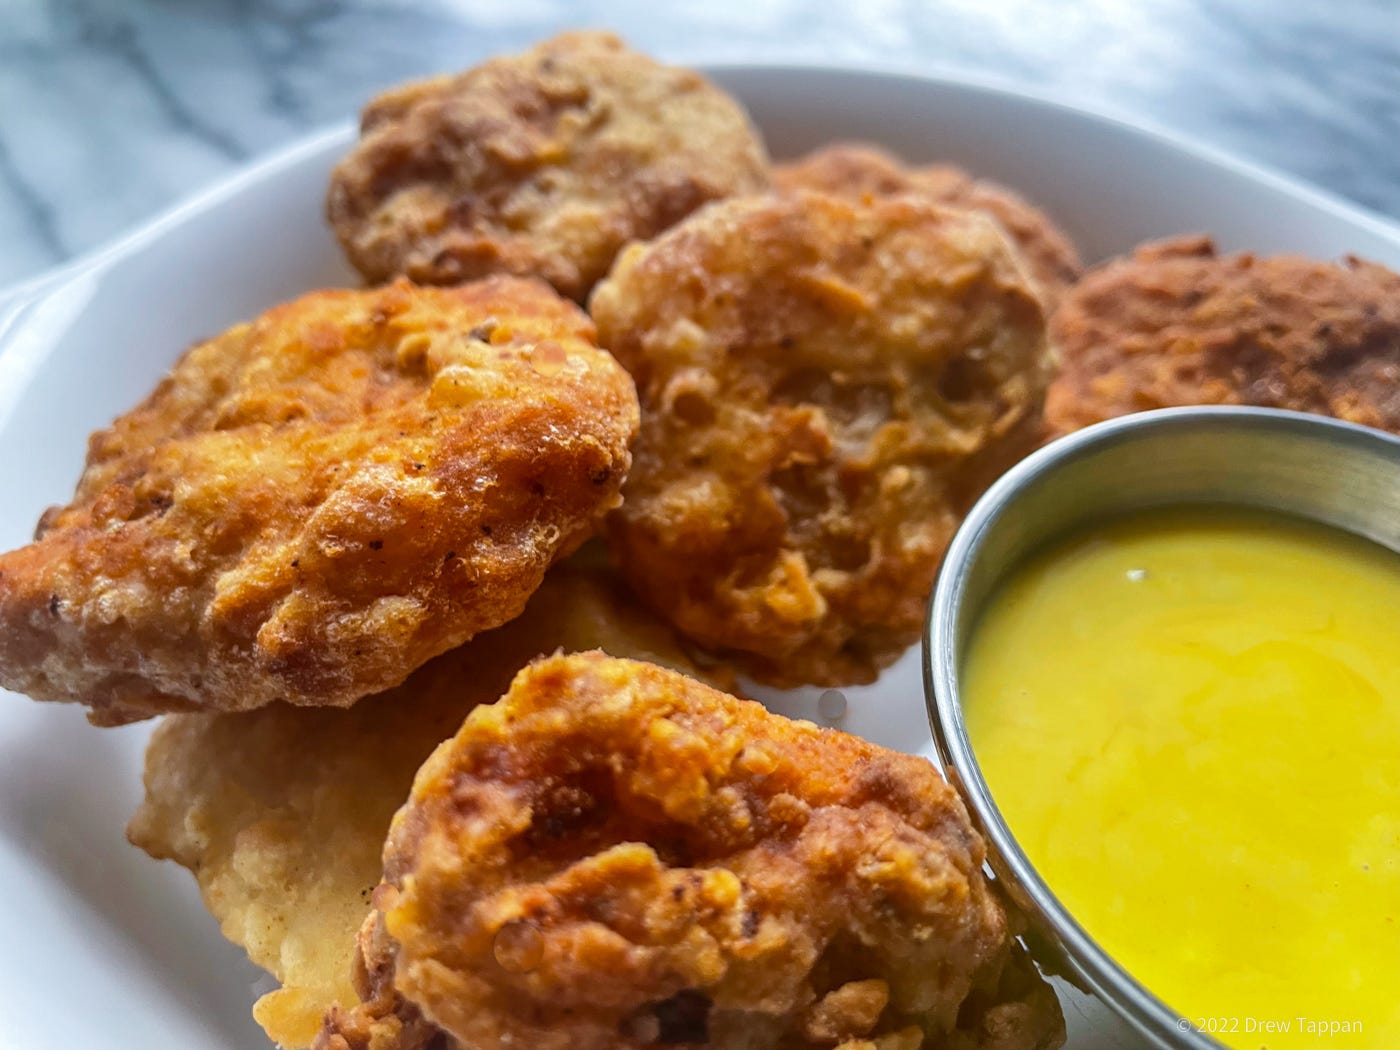
Chicken Nuggets Just Like the Freezer Used to Make
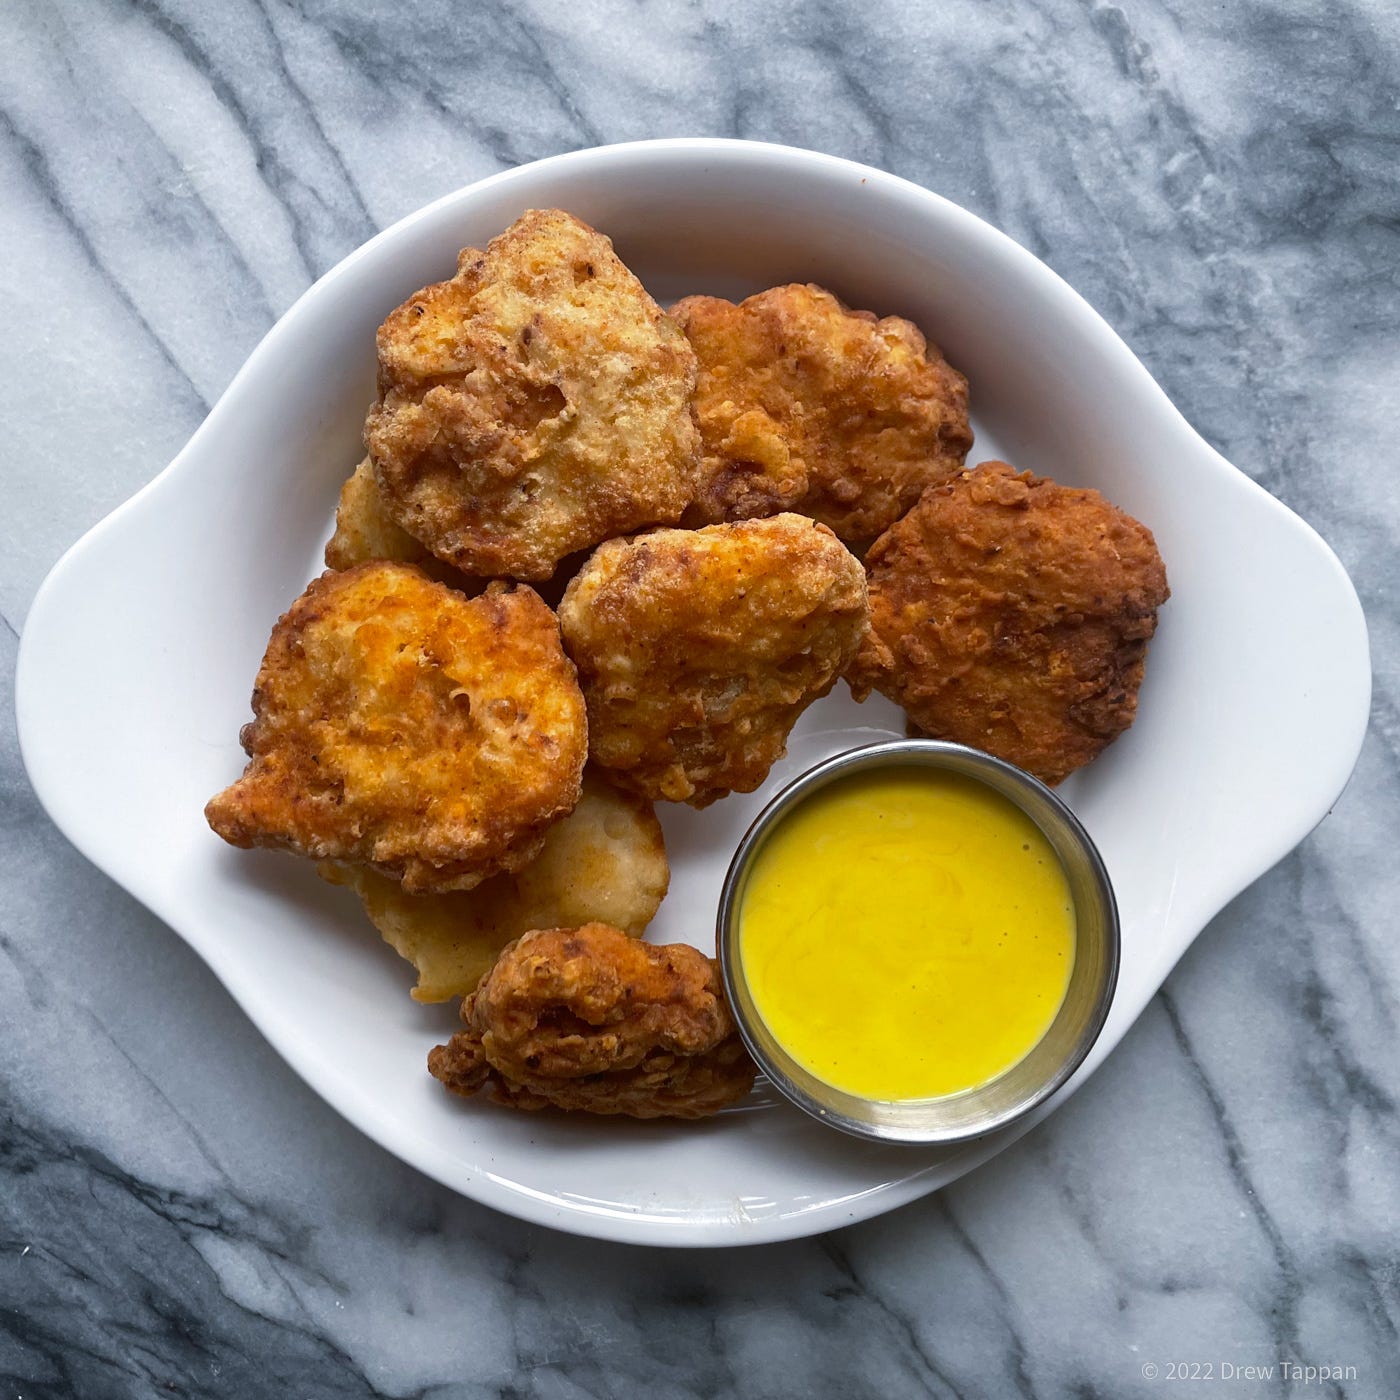
I have a soft spot for chicken nuggets, including the sort of original but probably not original that I used to beg my parents for when we were on road trips. I’m particularly partial to the sweet and sour sauce that … resembles no other flavor I’ve ever had anywhere. Apparently, you can buy a mold that reproduces the various shapes of those fast food nuggets. I didn’t go to those lengths.
These nuggets are simple, taste enough like the ones from the drive through or the bag that they scratch that itch, but also – being homemade – include only the ingredients you want them to. You could make these as simple as chicken, salt, and fluor (though they’d be a bit boring.)
I season them with salt, garlic powder (look for powder, not granulated garlic – it has a better flavor and texture) and a little MSG. I know that MSG can be controversial, but a lot of that is myth. MSG is simply an isolation of the same stuff that makes tomato sauce or parmesan cheese so very tasty … and I think it makes the nuggets a lot better. You can leave it out if you want.
1 lb boneless, skinless chicken thighs
1 ½ cups AP flour (divided)
1 cup milk
¼ cup corn starch
1 tsp baking powder
2 tsp kosher salt (divided)
2 tsp garlic powder (divided)
½ tsp MSG (optional)
Neutral oil for frying
Cut the chicken into 1-2 inch pieces.
Add the chicken, 1 tsp of cold water, 1 tsp of garlic powder and 1 tsp of kosher (and the MSG if using) salt to the container of a food processer fitted with a sharp blade.
Process until almost smooth.
Refrigerate the mixture for 15 minutes.
Scatter ½ cup of AP flour on a sheet pan in an even layer
Working with wet hands, form 1 ½ inch balls of the chicken mixture.
Press the balls into the flour on the sheet pan, to shape nuggets, turning to ensure they’re well coated.
Leave the nuggets on the sheet pan, in the flour and transfer to the freezer.
Freeze until just firm (about 1 hour.)
Combine the remaining 1 cup of flour, ¼ cup of corn starch, 1 tsp of garlic powder, 1 tsp of kosher salt, and the baking powder in a bowl, and whisk to combine well.
Pour the milk into a shallow bowl.
Retrieve the nuggets from the freezer.
Working one at a time, dip each nugget into the milk, then into the breading mixture.
Return to the sheet pan.
Allow the nuggets to hydrate in the refrigerator for 15 minutes before frying.
Set up your fryer or a large Dutch oven filled with neutral oil and heat to 325°F.
Fry the nuggets until crisp and golden. Serve with honey mustard sauce (below), or the dipping sauce of your choice.
You can par-fry the nuggets instead of completely cooking them to golden brown, and freeze them for later cooking – including finishing them in an air fryer.
Easy Honey Mustard Sauce
2 tbsp yellow prepared mustard
1 tbsp wildflower honey
½ tsp fresh ground black pepper
1 tbsp mayonnaise (opt)
Combine all ingredients and whisk to combine. If you like a creamier sauce, use mayonnaise in addition to the honey and mustard.
Kinda Weirdly Good Black Pepper Chocolate Chip Cookies

These are chocolate chip cookies. Because I’m weird, I put black pepper in them. It seems strange, but it works pretty well in my weird opinion. You can leave it out and they’ll just be chocolate chip cookies. If you like cakey cookies, swap the soda for baking powder. For what it’s worth … while I like less cakey cookies as cookies – cakey cookies make awesome ice cream sandwiches and I’ve still got leftover no-churn sour cream ice cream from last week’s menu …
2 cups AP flour
2 sticks unsalted butter
1 cup dark brown sugar
2 large eggs
1 tsp kosher salt
1 8 oz bar of bittersweet chocolate
½ tsp fresh ground black pepper
½ tsp vanilla extract
1 tsp baking soda
Chop the chocolate bar into small pieces.
Add the dry ingredients (including the pepper) to a bowl and whisk to combine well.
Add the butter and sugar to the bowl of a stand mixer fitted with a paddle attachment.
Process on high speed until the butter and sugar mixture is fluffy.
Add the eggs one at a time, processing on medium high until the mixture is pale and the ribbons form when the bowl is dropped/whisk is lifted.
With the mixer running at medium speed, slowly add the dry ingredient mixture, working until just barely incorporated with not dry lumps.
Add the chocolate and briefly mix to integrate.
Chill the batter for 1 hour.
Preheat your oven to 400°F.
Shape into 1 ½ inch balls, tear each ball in half, and stick the rounded sides back together.
Arrange on a cookie sheet, and bake for 8-10 minutes.
Optionally, use the bottom of a measuring cup to smash each cookie slightly while hot.
Cool completely.
Eat cookies.