


Old Familiar
Sometimes inspiration just won't strike.

I cook dinner at home almost every night. I usually cook more than one dish – some sort of main, a side, maybe a salad. You might think that would mean that it would be easy to come up with ideas for a weekly menu. But a lot of my cooking is either experimentation for my other project, The Chicken Thigh Guy, repeats of things I’ve already covered here, or well, to be honest a big old plate of “good enough.”
Anyway, what I’m getting at is that there are plenty of times I have trouble coming up with a theme, a direction, or even the glimmer of an idea as to what I want to share each week. This week was one of those weeks. This was one of those weeks where “good enough” was more than one meal and even then, we just gave up and ordered takeout more than once. My brain just wasn’t in it. We all have those weeks.
Then, Saturday morning, standing in line at the market meat counter picking stuff up for a mother’s day brunch, my heretofore uncooperative brain said: “Too much fancy food. You like meatloaf. Make meatloaf.”
Brain was right. I’ve been making too much fancy stuff – not just here, but in general. I think I’ve been over thinking it all for a while and it’s time to take a step back and make something good, simple, and familiar.
That’s this week’s menu. A short, quick return to simple and familiar – like that brief window in the early 2000s where gourmet comfort food was a thing. You can think of these dishes as 50s food or 90s food, as the stuff your mom or your grandmother made or – like me – you can think of them as the plate you ordered at that fancy faux diner in the Castro at midnight after a show 20 years ago. Either way, a familiar meal, familiar memories, a little return to simplicity.
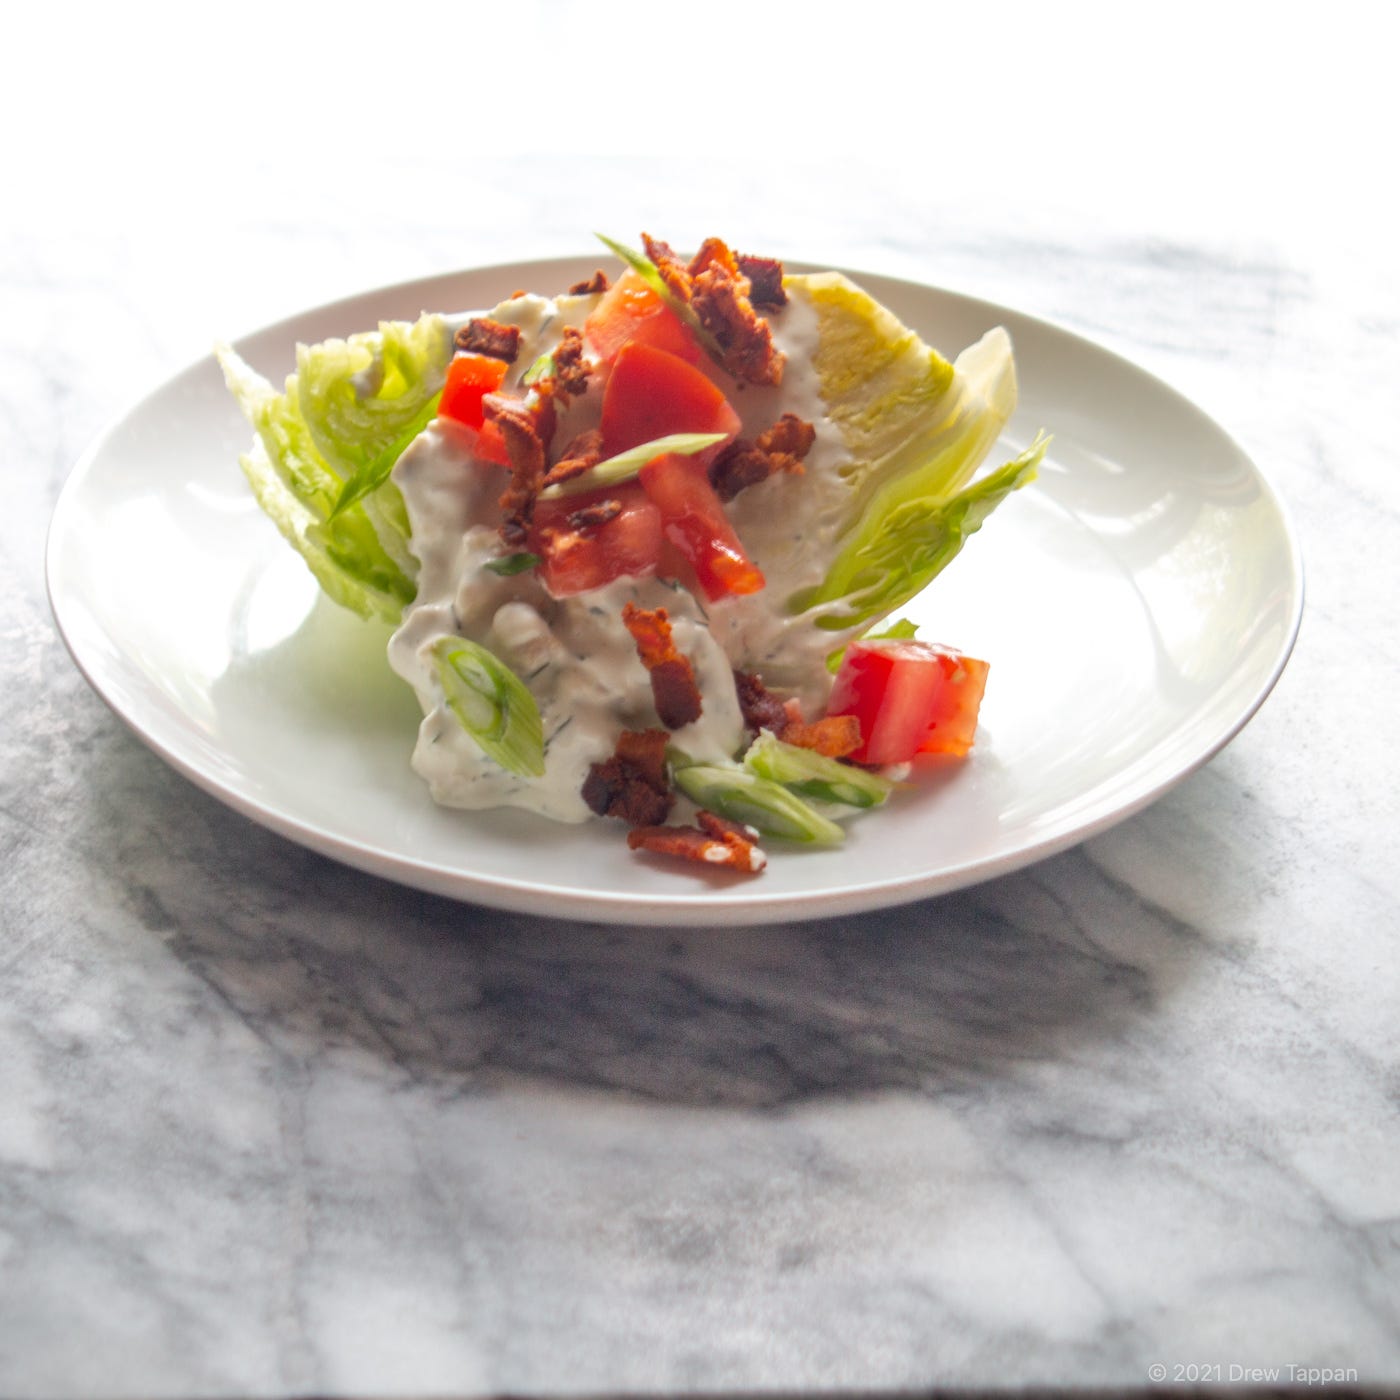
Iceberg Wedge Salad with Blue Cheese and Bacon
I know I’ve ranted before about how iceberg lettuce is an underrated vegetable. I just can’t remember if that rant was here, or elsewhere, or if it was just in my head. Anyway, iceberg lettuce is an underrated vegetable. As much as I love assertively bitter greens – and if you’re a regular reader you know my evangelism on that point – the crisp almost sweet crunch of iceberg not only has its place, its place is right out there in front, in the spotlight, drenched with deliciously old fashioned dressings in day glow colors and topped with everything the salad bar has to offer. Iceberg is like toast. It’s a sturdy, tasty foundation on which you can build anything you want. Iceberg wont collapse into a morass of swampy green, and it’ll stay crisp and watery and gently vegetal and weirdly, perfectly satisfying.
This wedge salad is unapologetically old fashioned. It’s essentially the “salad” we order at the neighborhood chicken wing joint when we’re pretending we need to add a healthy element to the pile of fried foods we selected. A homemade dressing lets you play with it a little – I like to use more interesting blue cheeses like Herve Mons or Rogue Smokey Blue – but it’s essence is still just lettuce, tomato, bacon, blue cheese. Unsurprisingly, it’s not that different from what you would put on toast and call a fancy BLT. Because … sturdy foundation.
1 head iceberg lettuce
2 pieces thick sliced bacon
1 medium tomato
1 green onion
1 clove garlic
½ cup Greek yogurt
½ cup mayonnaise
¼ cup crumbled blue cheese
1 tbsp lemon juice
1 tsp chopped fresh dill
½ tsp fresh ground pepper
Salt to taste
Peel, trim, and crush or microplane the garlic.
Add the garlic and lemon juice to a non-reactive bowl and allow to rest 5-10 minutes for the lemon juice to temper the harshness of the garlic.
Add the mayonnaise, yogurt, chopped dill, and black pepper and stir until smooth.
Add the crumbled blue cheese and fold in.
Taste for seasoning and season with salt if necessary (this will depend on the saltiness of the cheese used).
Refrigerate the dressing until ready to serve.
To finish:
Cut the bacon into ¼ inch or smaller pieces, and fry until crisp. Drain the fat and allow to cool.
Wash, and cut the tomato into ¼ inch pieces.
Thinly slice the green onion.
Remove the lose outer leaves from the head of lettuce and cut into quarter through the stem. Remove the remaining stem end with a sharp knife.
Place a wedge on each plate, drizzle with dressing, and top with tomatoes, bacon, and green onion.
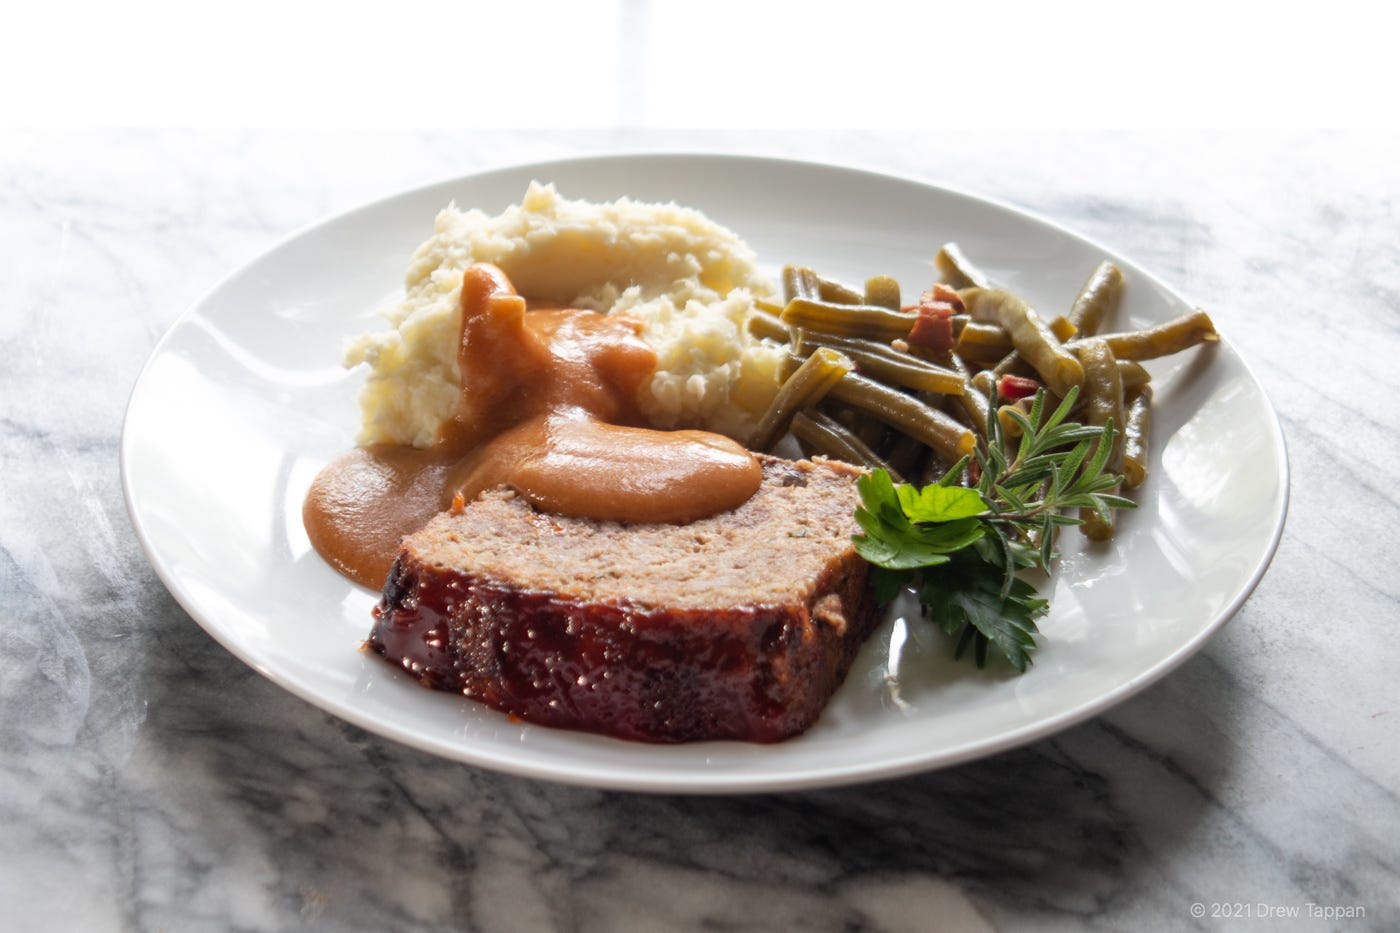
Big Meatloaf
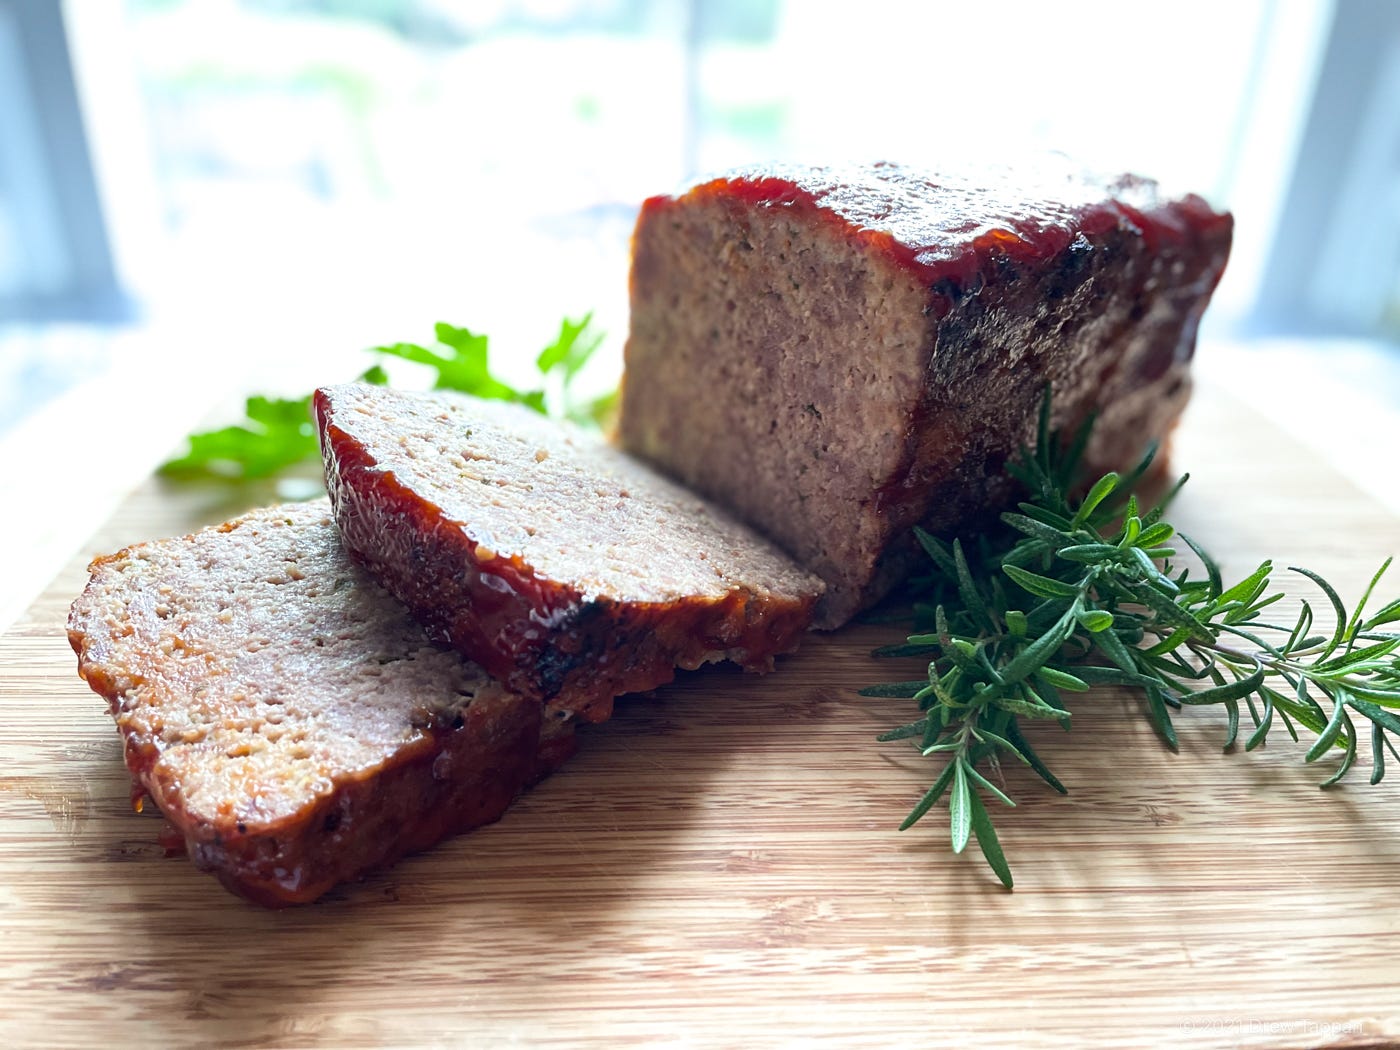
A friend once told me that my mini loaf pan sized Pâté de Campagne were “like twee little meatloaves!” That’s why this is Big Meatloaf. It’s big. I mean, it’s bigger than the little loaves of pate, but it’s also actually big – this recipe makes enough to comfortably fill a normal loaf pan, although I like baking it in a pan de mie pan because I think the straight sides of the pan make it look cool. Also, they really did say “twee.”
Meatloaf had a bad reputation for a long time, I think in part because it was seen as a course of last resort. Ok, so it’s a little ironic I’m saying that after the story up top about how I came to decide that’s what to cook this week, but I’m more talking about its origins – a way to stretch a little bit of cheap meat into something that could feed a small crowd, that was filling, and that lasted. A lot of the meatloaf I’ve eaten in the past was dry, or bouncy, or – well, we don’t need to get into the crimes against culinary norms that were committed by our university food service. Now, I really enjoy meatloaf.
I vary the meat mix I use from time to time. I used to always try to include ground veal for the high collagen content, one of the things that will give you a tender loaf instead of dry lump of beefy sawdust. Then, I read about a trick used by Serious Eats and the Food Lab’s Kenji Lopez-Alt. Now, I add a packet of unflavored gelatin to the meat mixture and skip the veal all together. The recipe below uses bacon, ground pork, and ground beef – along with a pretty simple array of herbs, and a healthy dose of egg and bread crumb to make a tender loaf with a fairly dense but not heavy structure that’s great on a plate, and even better as leftovers on a sandwich.
1 ½ lbs. ground beef (80/20 mix or equivalent home ground such as whole chuck)
1 lb. ground pork
1 ½ cups plain toasted breadcrumbs
4 pieces thick cut bacon
2 eggs
1 medium onion
1 stalk celery
2 cloves garlic
1 packet unflavored gelatin
½ cup heavy cream
1 tbsp unsalted butter
2 tsp kosher salt
1 tsp ground black pepper
2 tbsp chopped fresh parsley leaves
1 tbsp loosely packed fresh rosemary leaves
1 tbsp loosely packed fresh oregano leaves
2 tsp loosely packed fresh thyme leaves
Preheat your oven to 325°F.
Peel trim and coarsely chop the onion.
Peel, trim, and coarsely chop the garlic.
Trim and coarsely chop the celery.
Put the onion, garlic, and celery into the bowl of a food processer and process until finely chopped.
Add 1 tbsp unsalted butter to a frying pan over medium heat.
As soon as the butter has stopped foaming, add the onion, garlic, and celery mixture.
Cook for 5 minutes, or until the onion is just starting to brown.
Remove from the heat and allow to cool completely.
Add the bacon to the bowl of the food processer, and pulse until finely ground. Add the eggs, herbs, gelatin, and cream to the food processor and process until a smooth mixture is formed and the herbs are well broken down.
Add the meats, breadcrumbs, and the bacon mixture to a bowl and knead by hand until well combined and homogenous.
Turn the mixture out into a greased loaf pan, or shape as a loaf on a foil lined sheet pan.
Bake at 325°F until a thermometer inserted into the center of the loaf reads 160°F (72°C), about 90 minutes for a full loaf pan.
Remove from the oven and allow to cool until the loaf can be handled..
Raise the oven temp to 450°F.
Remove the meatloaf from the pan, liberally coat the top and sides with ketchup glaze (below) and return to the oven until the glaze is bubbling.
Slice, and serve with meatloaf gravy.
Ketchup Glaze
1 cup Ketchup
½ cup dark brown sugar
1 tbsp Worcestershire sauce
Pinch of cayenne pepper
Combine all ingredients and stir until sugar is dissolved.
Meatloaf Gravy
3 tbsp unsalted butter or drippings from meatloaf
3 tbsp AP flour
2 cups beef stock or dark chicken stock
1 clove garlic
1 tsp ground black pepper
1 tbsp ketchup glaze
1 tsp kosher salt
Peel, trim, and crush or microplane the garlic.
Add flour and butter or drippings to a pan over medium heat to make a roux.
Cook, stirring very frequently until the roux is the color of peanut butter, about 5-7 minutes.
Add the garlic to the roux and cook for just a minute or until the raw garlic smell dissipates.
Add the stock and 1 tbsp ketchup glaze and cook until thickened and smooth.
Strain through a fine strainer to remove any lumps, season with salt and pepper and serve hot with meatloaf.
Garlic Mashed Potatoes

I think of garlic mashed potatoes as one of the hallmarks of that culinary moment I mentioned in today’s introduction. That flash in the pan return to comfort food that straddled the end of the 90s and beginning of the 2000s (do we call them the ‘aughts like the olde timer’ did?). Skin-on, garlic, buttermilk mashed potatoes – stiffer than fancy pommes pure – were often delivered in a perfectly ball-shaped scoop, studded with bits of red potato skin, dripping with gravy, and if you were lucky a bit of cheese. They were good mashed potatoes. Good enough to be a part of or all of a meal on their own if you didn’t mind immediately falling asleep after your dinner – or more likely a late night beermop. This recipe leaves out the buttermilk. I also cook the garlic into the potatoes – unlike some of the more assertive versions I’ve had – and try as I might I never really did like the skin on versions, so these are peeled. You can tweak them as you like.
4 medium russet potatoes
4-6 cloves garlic
4 tbsp unsalted butter
¼ cup heavy cream
1 tsp kosher salt
Peel, and cut the potatoes into 1-2 inch pieces.
Peel and trim the garlic cloves.
Place the potatoes and garlic cloves in a thick bottomed pot over medium heat and add enough water to cover by 2 inches.
Salt the water.
Slowly bring the pot to a low simmer and cook until the potatoes are very tender – about 20-30 minutes.
Drain the water.
Add the butter to the pot and use a whisk or potato masher to mash the potatoes.
Add the cream and continue mashing until smooth.
Green Beans with Bacon
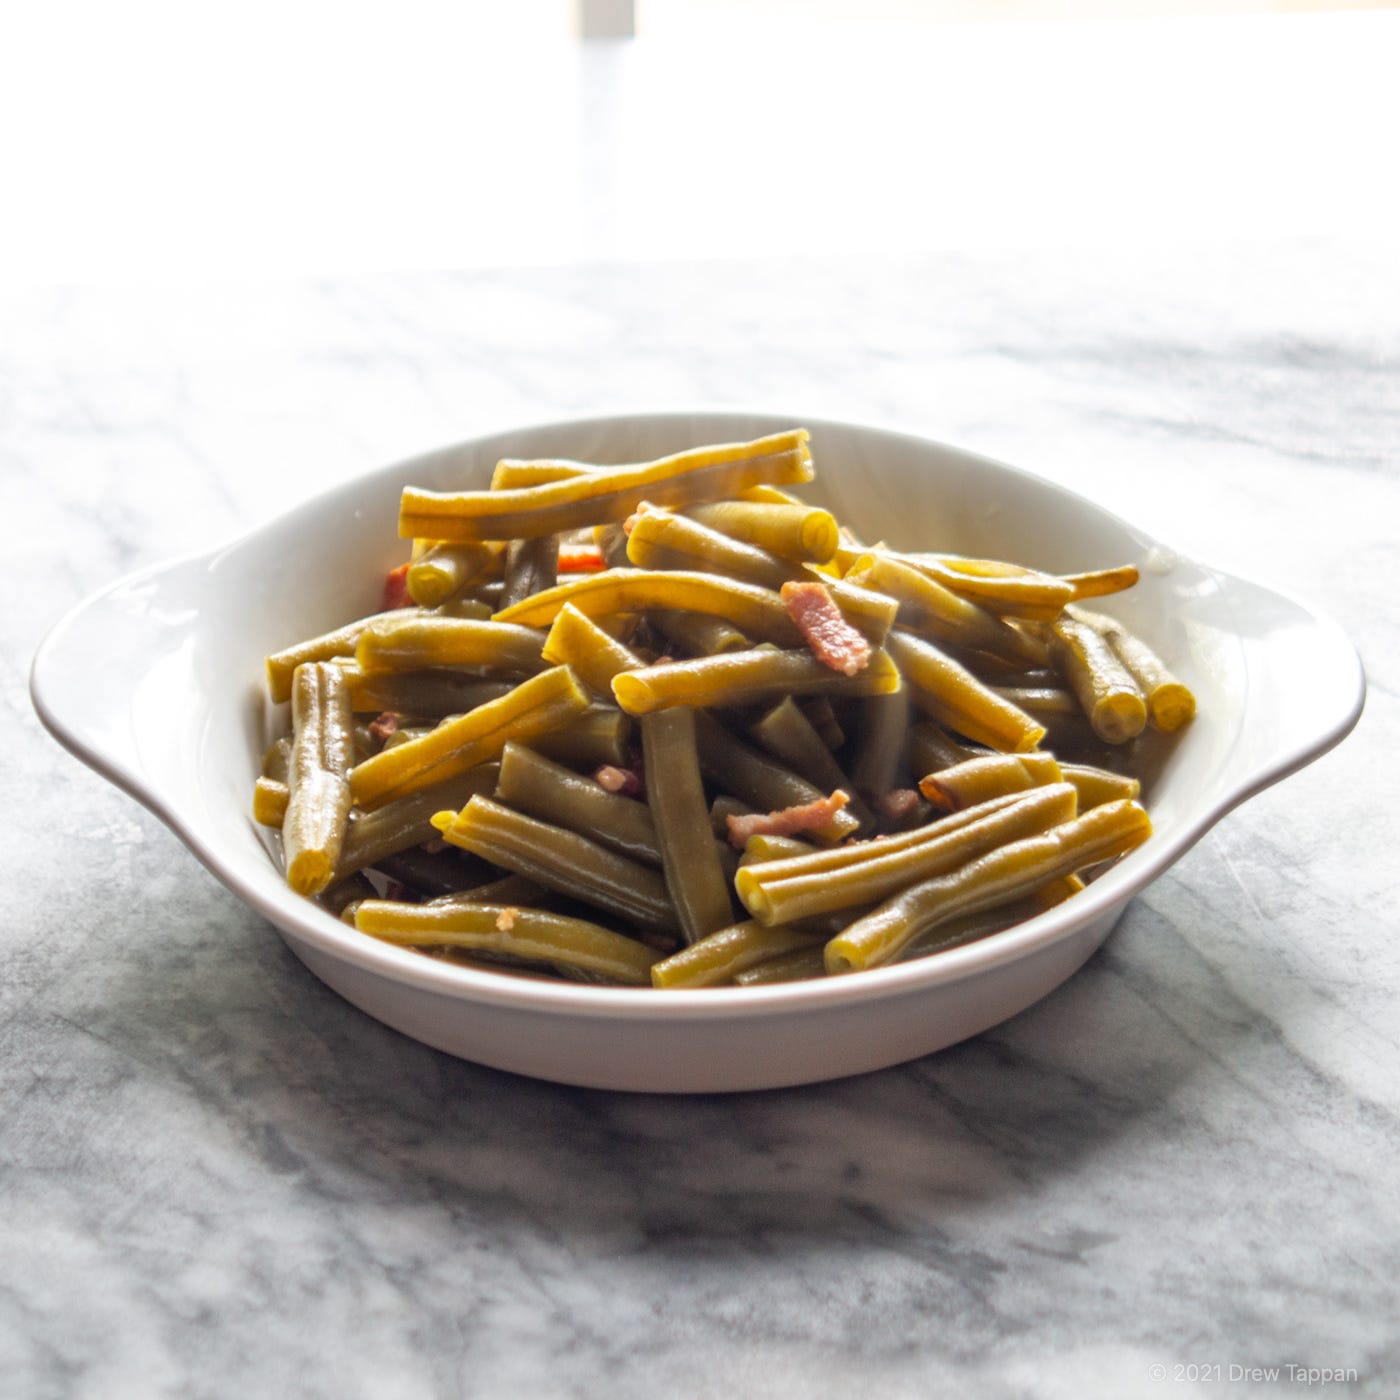
In almost every other case my instructions for any dish involving green beans would start out with blanching the beans to retain the color and texture. This one doesn’t. The goal here isn’t crisp emerald green pods that crunch at the first bite. In fact, it’s the exact opposite. We want tender soft, dun green bite sized bits flavored with smoky bacon fat and cider vinegar. These are the beans ladled from a steam tray at that BBQ joint with all the pickups out front. They’re the kind you remember from when – whether it was an aunt or grandmother or your mom – they came in a blue and white square casserole with a glass lid that was inevitably turned opaque by a layer of condensation, whether from the microwave or the car ride over. They’re a different creature than fancy French style green beans, but they’re no less wonderful when they’ve found their place – and let me tell you, that place is on a plate with mashed potatoes and salty slightly sweet gravy and … well, with everything else in this menu.
1 lb. whole fresh green beans
2 pieces thick cut bacon
1 tbsp cider vinegar
1 tsp kosher salt
¼ tsp ground black pepper
Cut the bacon into ¼ inch pieces, and brown in a pot over medium heat.
Wash, and remove the stems and tips from the green beans.
Cut the beans into two inch segments.
Add the beans to the pot with the bacon and drippings.
Add the salt, black pepper, vinegar and enough water to cover.
Bring the pot to a low simmer, and cover, cooking until the beans are tender, 30 minutes or more for soft beans, up to 90 minutes for very soft beans.
Chocolate Cream Pie
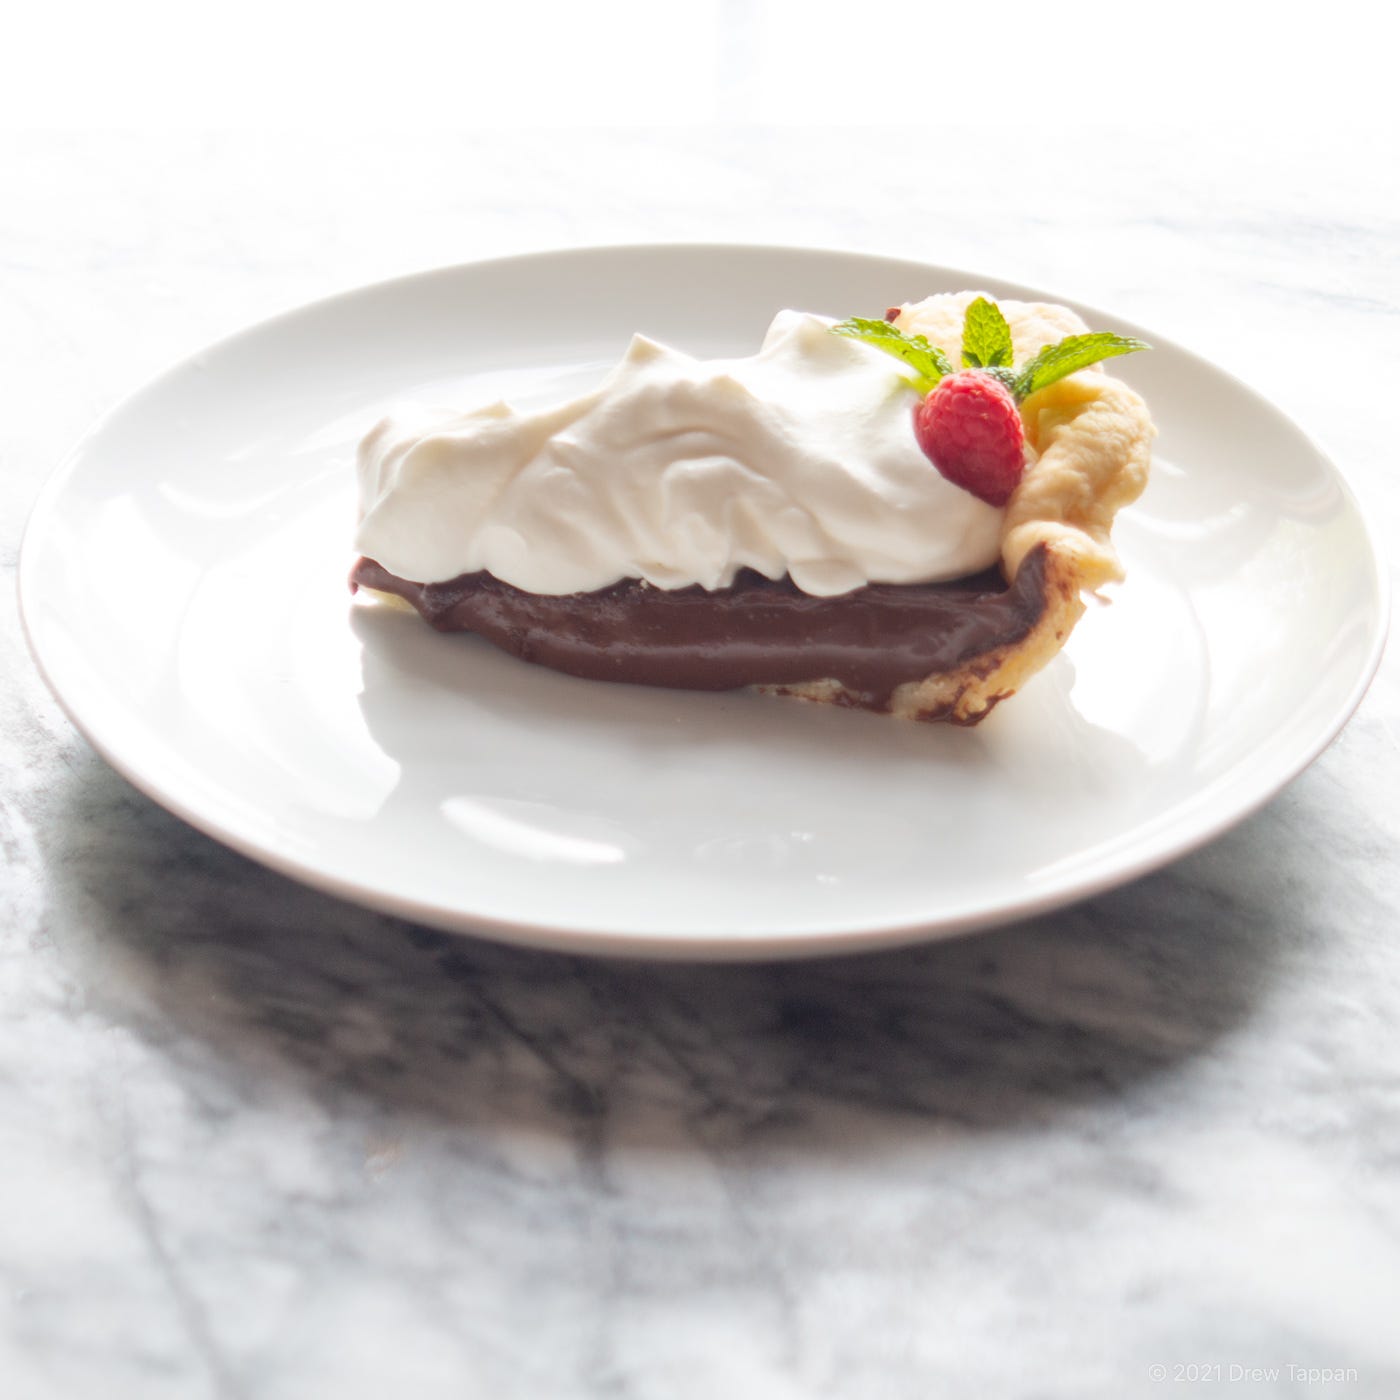
I waffled back and forth on what to make for a desert with this meal. I did not consider waffles. I had a very specific feeling in mind. While I briefly considered banana cream pie, I neither had bananas nor particularly like banana cream pie. Basically, my choices came down to old school chocolate cake or chocolate cream pie. Pie won. I’m not even sure why. I can’t make a pie crust for the life of me. I have a good recipe; it makes a pretty great light flakey crust – that’s not the issue. It’s that I’m apparently totally completely incapable of making a crust that doesn’t somehow look like a toddler’s well intentioned sandbox experiment. Seriously. I just cannot make a pretty crust.
This is a simple pie. A blind baked shell (you can totally cheat and use a store bought crust – I probably should) with a not-to-sweet chocolate pudding filling. I like to top it with unsweetened whipped cream, but you can add sugar there if that’s your thing. It ends up being a sort of old fashioned luxury and it’s worth the time it takes to chill in the fridge.
This crust recipe makes a double crust – but halving it isn’t easy – so you’ll have enough crust for two pies. Also that gives you a second chance if you’re as crust-clumsy as me. The vodka and vinegar seem like weird additions, but they help keep the crust light and flaky by inhibiting gluten formation even when using a food processor.
Crust:
2 1/2 cups AP Flour
2 sticks butter
¼ cup cold water
1 oz vodka
1 tbsp white vinegar
1 tsp kosher salt
Add the butter, salt, and flour to the container of a food processor and pulse until a coarse meal has formed.
Add the cold water, vodka, and vinegar and pulse just until combined.
Remove from the food processor and knead lightly to form a smooth dough.
Shape into a 2 disks, wrap in plastic wrap, and chill for 1-2 hours.
Remove the dough from the refrigerator and roll out.
Blind bake until just browned – about 30 minutes.
Allow to cool completely before filling.
8 oz dark chocolate
6 egg yolks
½ cup sugar
2 cups whole milk
½ cup heavy cream
3 tbsp butter
2 tbsp dark cocoa powder
3 tbsp corn starch
1 tsp vanilla extract
2 cups heavy whipping cream (for topping)
Chop the chocolate into small pieces, and set aside.
Add milk and sugar to a heavy bottomed pot over medium heat.
Bring to a low simmer, taking care not to boil over.
Add the egg yolks, ½ cup of heavy cream, corn starch, vanilla, and cocoa powder to a bowl and stir well to combine.
Once the milk mixture is simmering, slowly pour 1/3 of the milk into the egg mixture while whisking constantly.
Reverse the process, and slowly pour the egg, milk mixture back into the remaining 2/3rds of the milk, whisking constantly.
Return the mixture to a simmer, stirring or whisking constantly.
As soon as the mixture simmers or boils, remove it from the heat and add the chocolate and stir well to melt it and combine.
While still very hot, strain through a strainer to remove any lumps.
Pour the partially cooled chocolate filling into the prepared pie shell.
Place a piece of plastic wrap directly on top the filling and refrigerate until set – about 2 to 4 hours.
Whip the remaining 2 cups of whipping cream until stiff peaks form.
Top with stiff whipped cream.