


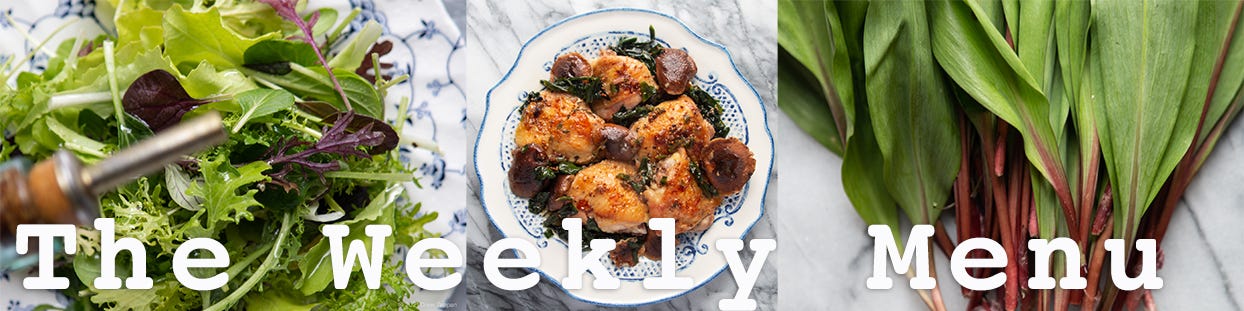
On Ramp(s)
It's all about the green gold. Well, mostly. Somewhat.

If you’re not from a swath of states bordering the Appalachian Mountains (or you’re not a huge food nerd) you may not know about ramps. Not highway entrances, or skate parks, or the thing you built in the middle of the street in 1979 out of three cinderblocks and a piece of splintery plywood so you could make sick jumps until your mom told you to quit it because she wasn’t going to the emergency room again.
Ramps. The vegetable.
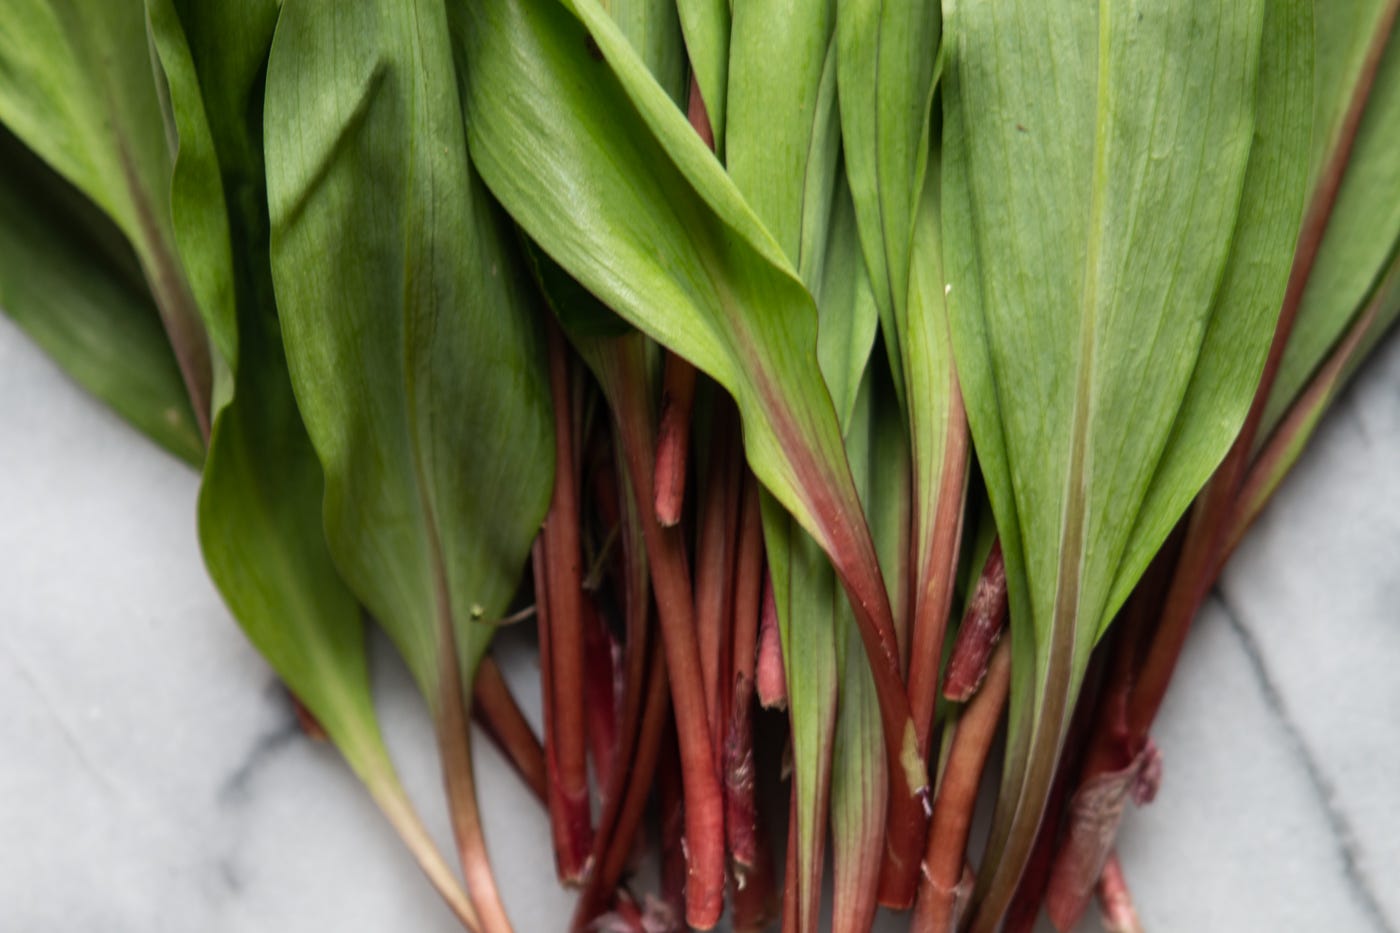
Ramps are wild leeks. Tiny, delicate, dark green and bright red wild onion-like plants that resist cultivation and as such, are pretty much always foraged. They’ve always been prized because, well … they taste really good. I mean, they taste like really good green onions – so if you’re not an onion fan you’re going to be disappointed but why wouldn’t you be an onion fan? Onions are amazing, the backbone of all the good cooking that ever got cooked.
Because they’re so amazingly delicious, and rare, and sort of the ultimate local food, in the past few years ramps have become popular among chefs all over the country. And because they’ve become popular among chefs all over the country, they’ve become popular among food nerds who emulate those chefs, and … well, ramps have become popular. Those who found them in their backyard, in the woods or by a creek already knew of their greatness. Now they’ve become a commodity. Because they’re foraged instead of cultivated, they were never cheap or easy to acquire, and now – with the added cachet – they’ve gotten even more expensive. That means that people around here guard the secret location of their ramp patches with almost the same vigor – if not the same violence – that they guard the secret locations of other um, alternative agricultural concerns that also dot the foothills east of here.
Anyway, I resisted the urge to put ramps in every dish. I didn’t think anyone really needed a sweet ramp flan for desert (I used rhubarb – practically the desert version of ramps), but this week’s menu does feature a few other items that are on the early end of the “IT IS FINALLY SPRING” scale of foods that are getting greener. Because it’s finally spring – and it’s been a long, long winter. Time to build a ramp and hit some sick jumps.
A quick programing note: I’m going to take a break from the weekly menu next week (April 20th) to catch up on recipe development and sleep and aggressive sitting. We’ll be back with a new menu in a couple weeks.
Not Actually French Rolls
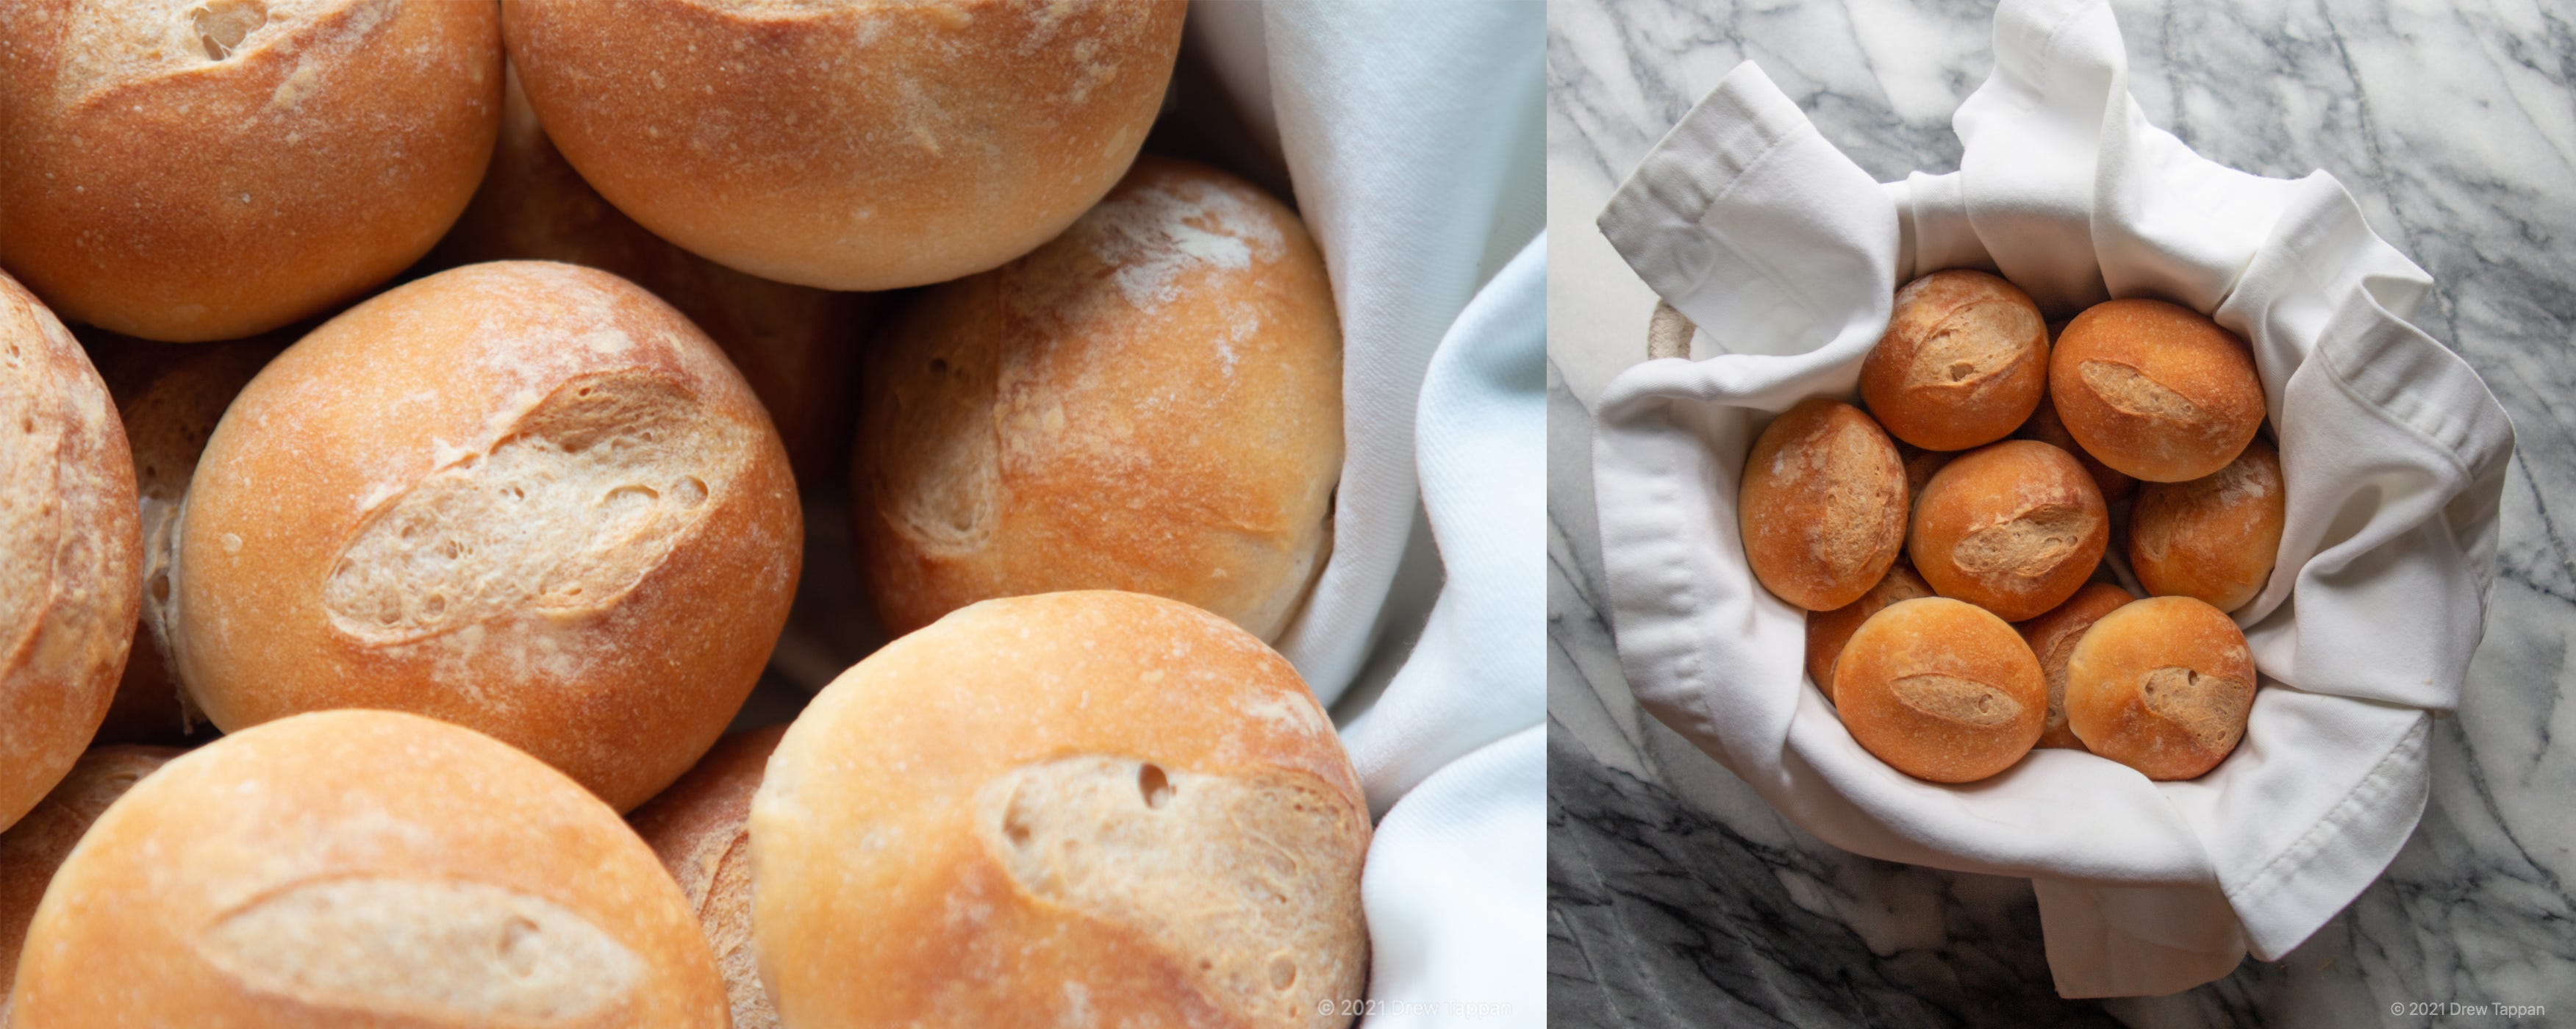
If you ate in almost any restaurant almost anywhere before say, 1990, you know these rolls: A basket full of slightly oblong mini breads with a slightly chewy crust and soft white interior – inevitably accompanied by a piped rosette of whipped butter. Sure, the ones you ate in the restaurants almost certainly came frozen from a big restaurant supplier, but they were still delicious. You still got a stern warning not to “fill up on bread” in part because that dinner probably included a salad bar.
300 g bread flour
200 g water
4 g yeast
6 grams salt
Add 200 g water and 4 g yeast to the bowl of a stand mixer fitted with a whisk attachment.
Allow the yeast and water to stand for 5 minutes.
Add 200 g of the flour and the salt, and process on high speed until a smooth shiny dough has formed and begins to pull away from the bowl of the mixer – up to 10 minutes.
Remove the whisk attachment and replace with a dough hook.
Add the remaining flour and process on medium speed until the dough is smooth and elastic.
Allow to rise until doubled in size.
Punch down, and form into a ball.
Allow to relax for 10 minutes.
Divide into 12 pieces and shape into balls.
Allow to relax for 10 minutes.
Roll slightly into slightly oval shapes, and dust with flour.
Cover with a damp towel and allow to proof for 30 minutes in a warm place.
Preheat your oven to 400°F.
Spray the rolls with water – this will help develop the crust and allow the rolls to expand in the oven before the crust hardens.
Using a sharp knife or bread lame, make one cut down the center of the top of the oval.
Bake at 400°F until lightly browned – about 30 minutes.
Serve warm. With whipped butter.
Chilled Pea Soup with Ramp Oil and Whipped Crème Fraîche
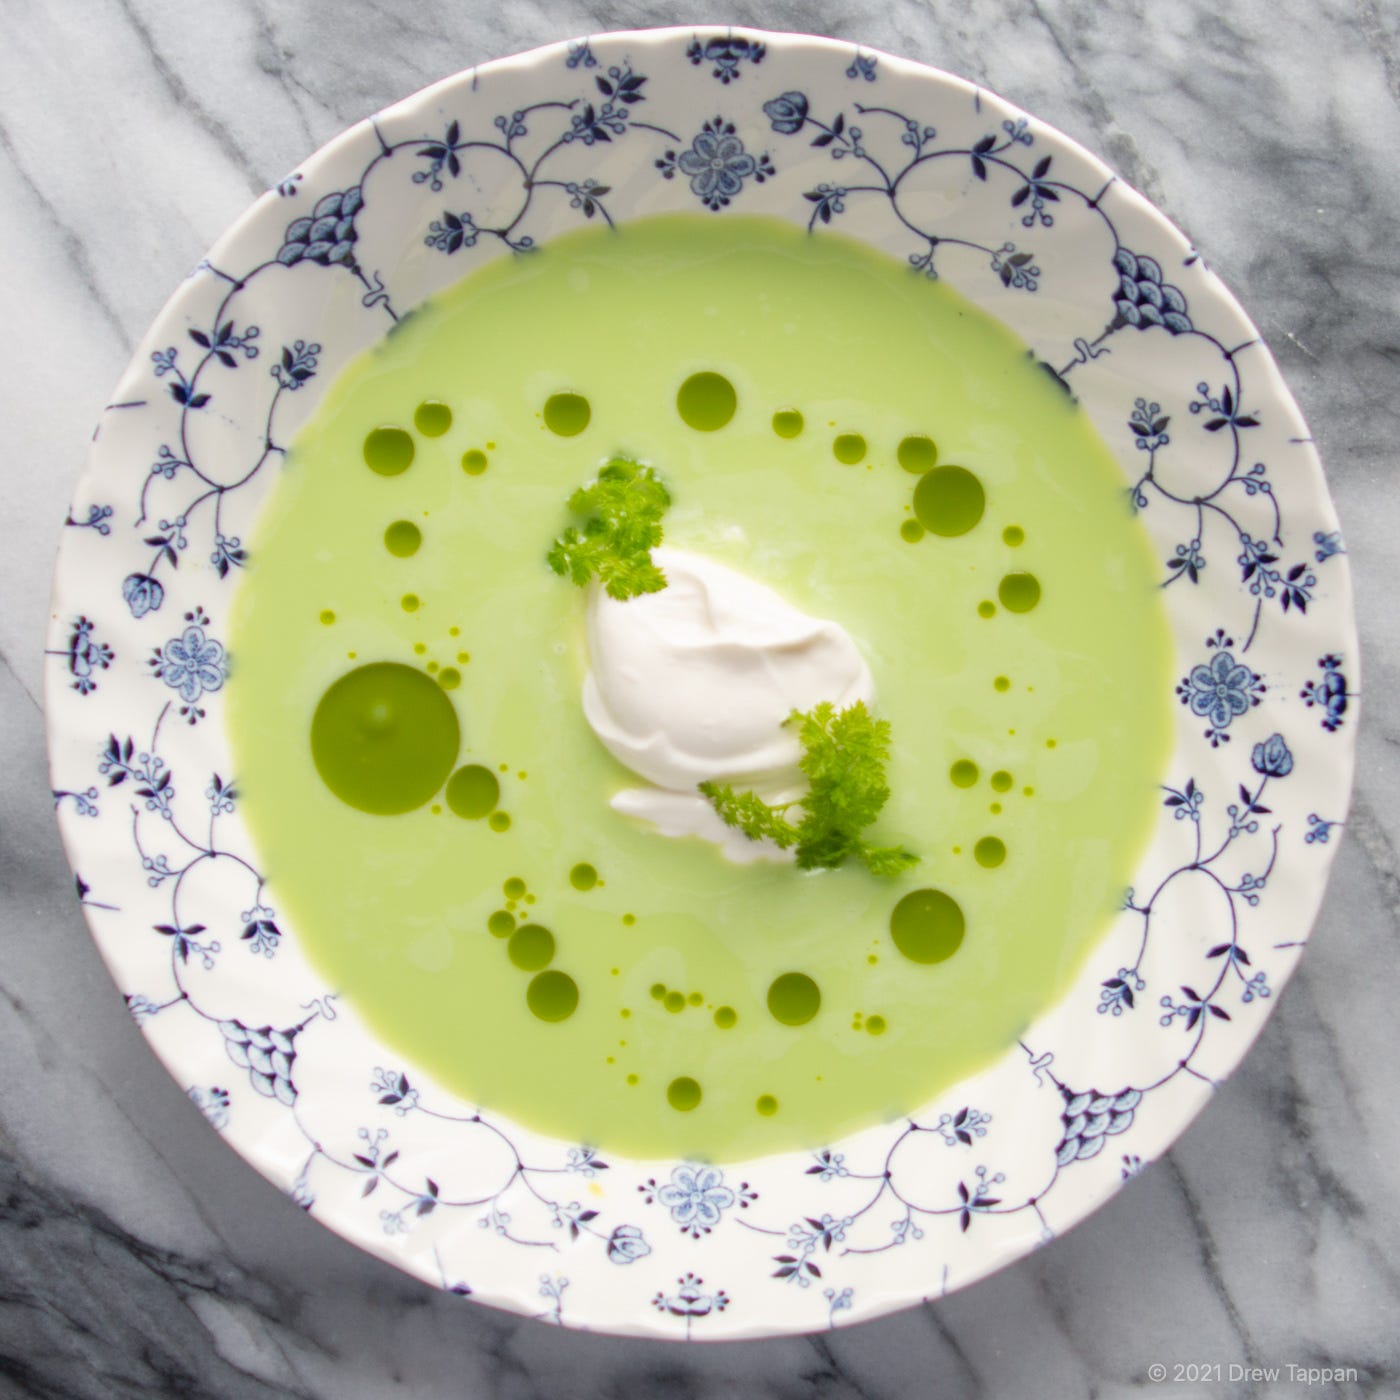
Spring is a great time for cold soups or as I like to think of them, fancy dinner smoothies. Okay, that’s not true. I don’t think of them as fancy dinner smoothies – though I admit that it’s sometimes difficult to think of a dowl of delicious, flavorful and satisfying cold liquid as a soup.
This pea soup is relatively quick, and by nature of being cold, must be made in advance. That means it’s quick to get to the table for that “I’m finally fully vaccinated” dinner party you may or may not be planning. Peas are also one of the few vegetables that really are nearly as good frozen as they are fresh – so if your area of the world isn’t quite into pea season yet (or if it’s summer because you’re in Australia), your grocer’s freezer probably is.
2 cups green peas (either frozen, or blanched fresh peas)
4 cups light vegetable stock (see below) chilled
½ cup crème fraiche or Greek yogurt
½ tsp white pepper
2 tsp kosher salt (plus more to taste)
Combine all ingredients in the container of a high-speed blender.
Process until smooth.
Taste for seasoning and add additional salt if necessary. This soup can carry a lot of salt.
Strain into a covered container and chill until service.
To serve, ladle into a bowl.
Top with a drizzle of ramp oil and a dollop of crème fraiche or yogurt that’s been whipped until light and fluffy.
Light vegetable stock
5 cups water
1 green onion, cut into 4 inch pieces
½ medium onion
1 6-inch piece celery
1 sprig thyme
1 bay leaf
Combine all ingredients in a pan over medium heat.
Bring to a simmer, and cook for 30 minutes.
Remove from the heat and allow to cool to room temperature.
Strain, and chill before using.
Ramp oil
1/4 lb. ramp tops (reserve the stems for pickling)
1 cup neutral oil
Prepare a large pot of heavily salted boiling water and an ice bath.
Blanch the ramp tops in the boiling water for 30 seconds to 1 minute, then shock in the ice water.
Remove the ramp tops from the ice water and squeeze out as much water as possible.
Add the ramp tops and oil to the container of a high speed blender and process until smooth.
Strain through a straining cloth or a very fine strainer into a container.
After straining bang the container on the counter a few times to release trapped gasses.
Allow the mixture to settle in the refrigerator and pour off the clear green oil on top for use as needed.
Simple Greens
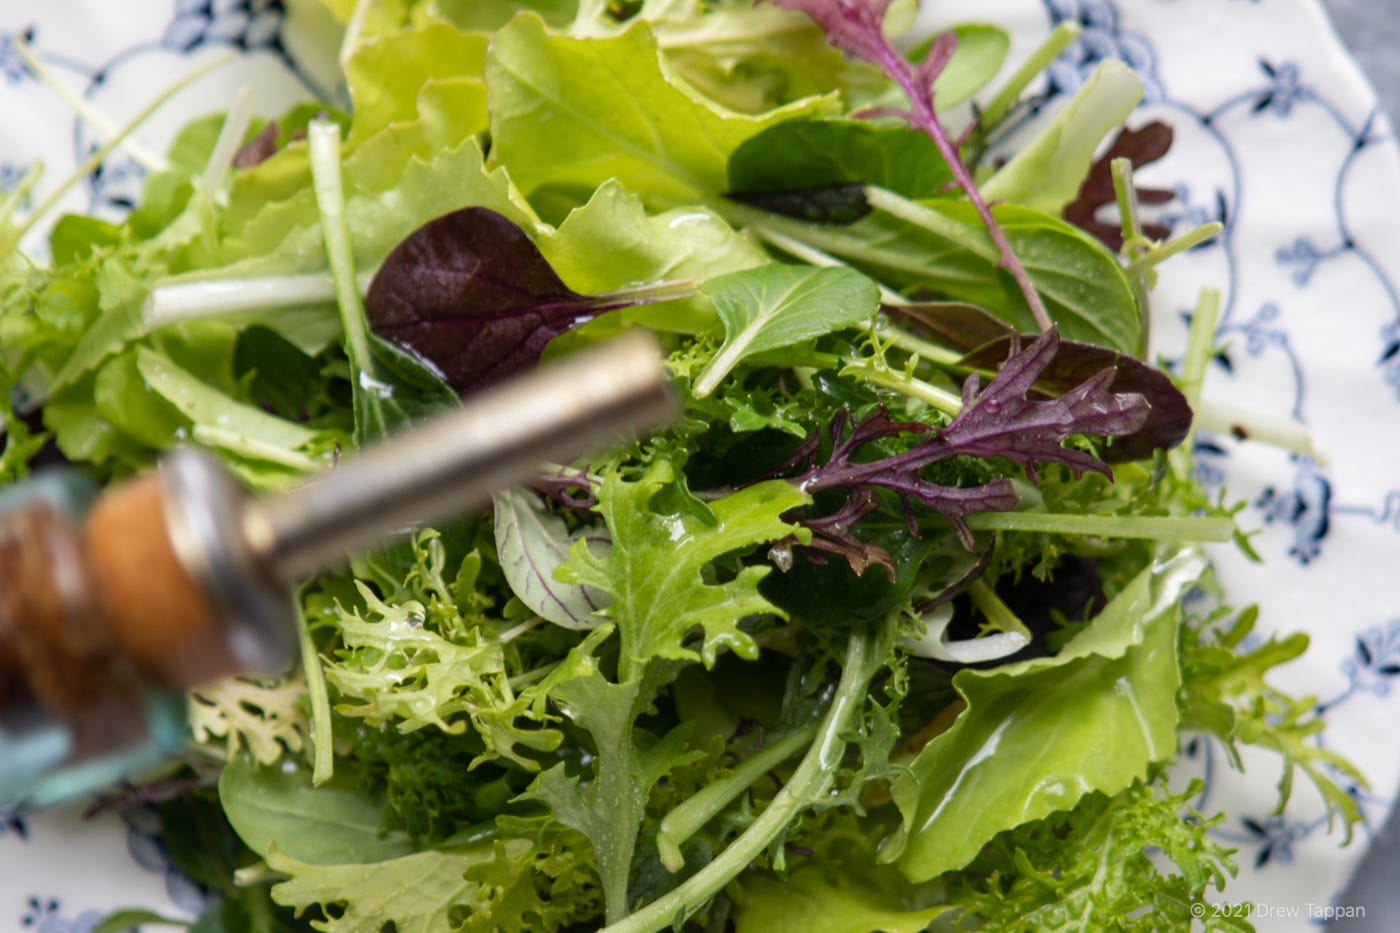
This salad is really nothing more than dressed mixed greens, so I’m going to use these couple paragraphs to rant slightly about salad dressing. Well, perhaps evangelize is a better term. I don’t know the last time I bought a bottle of salad dressing. I know that it’s been years, I just don’t know how many years.
We use the below vinaigrette 3-4 times a week. It uses ingredients you probably already have lying around. Sometimes it’s tweaked slightly – a little sugar or honey if the greens are sturdy and bitter, some finely minced herbs to accompany roast meat, even some shredded parm and a little mayo if we want a “creamy” dressing. The thing is, it’s a sturdy backbone that’s easy to build on – and the key to that backbone is shallots. Their flavor, falling somewhere between garlic and red onion, somehow both subtle and pungent really makes it.
Mixed Greens
2 tsp red wine vinegar
1 tsp microplaned shallot
½ tsp kosher salt
½ tsp coarsely ground black pepper
¼ tsp smooth Dijon mustard
2 tbsp olive oil
Add the microplaned shallot, salt, pepper, vinegar, and mustard to a non-reactive bowl.
Allow to sit 5 minutes. This will tame the harshness of the shallot and turn it into delicious flavorpaste. No. Really.
Whisk in the oil. Dress greens. Enjoy with wine.
Confit Fingerling Potatoes
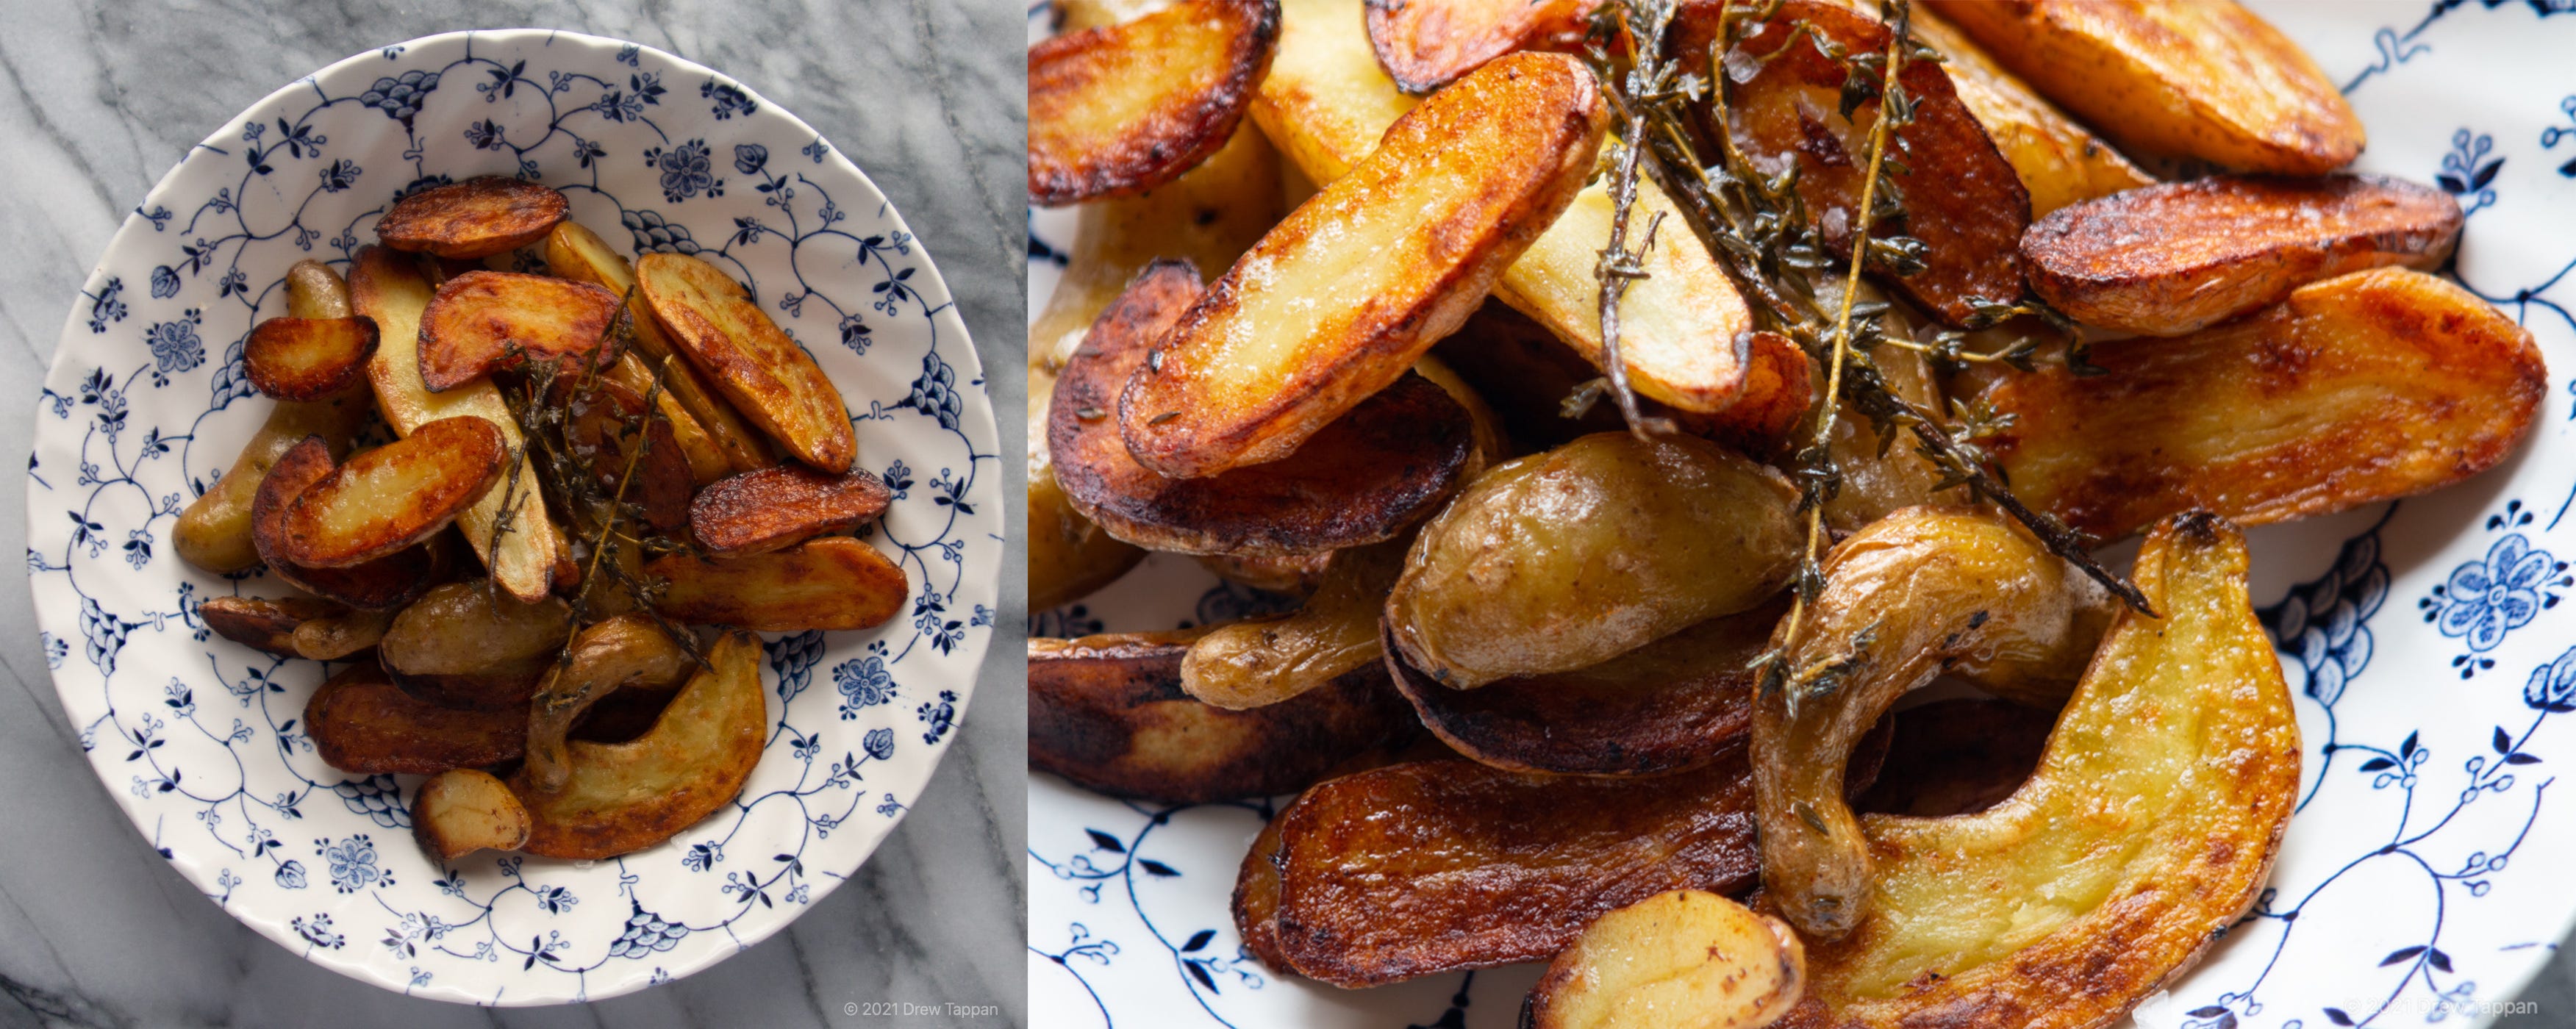
Fingerling potatoes are a great ingredient because they’re tiny and fun – also because they tend to actually be better potatoes that we’re used to working with. They’re often waxier (in a good way) and creamier than the russets we’re most familiar with, and even than the Yukon or other golden varieties. They stand up to roasting, frying, all sorts of preparations and the skin to flesh ratio gives them pretty great textures.
This preparation – slowly confiting them in butter with herbs before upping the temp to crisp them – takes advantage of all of that. You’ll end up with impossibly creamy potatoes and a crisp cut face and skin. Basically, they’re just good.
1 ½ lbs. fingerling potatoes (I like the Russian banana variety – but anything will work)
1 stick unsalted butter
4 sprigs fresh thyme
1 tsp kosher salt
Clean the potatoes well and cut in half lengthwise.
Add the butter, thyme, and potatoes to a shallow pan over medium heat.
Once the butter has melted, reduce the heat to low and cover.
Cook for 30-45 minutes, or until the potatoes are soft.
Remove the lid, and slowly bring the temperature up to medium high heat.
Cook until the potatoes are crispy and slightly browned – turning if needed.
Roasted chicken with Ramps and Mushrooms
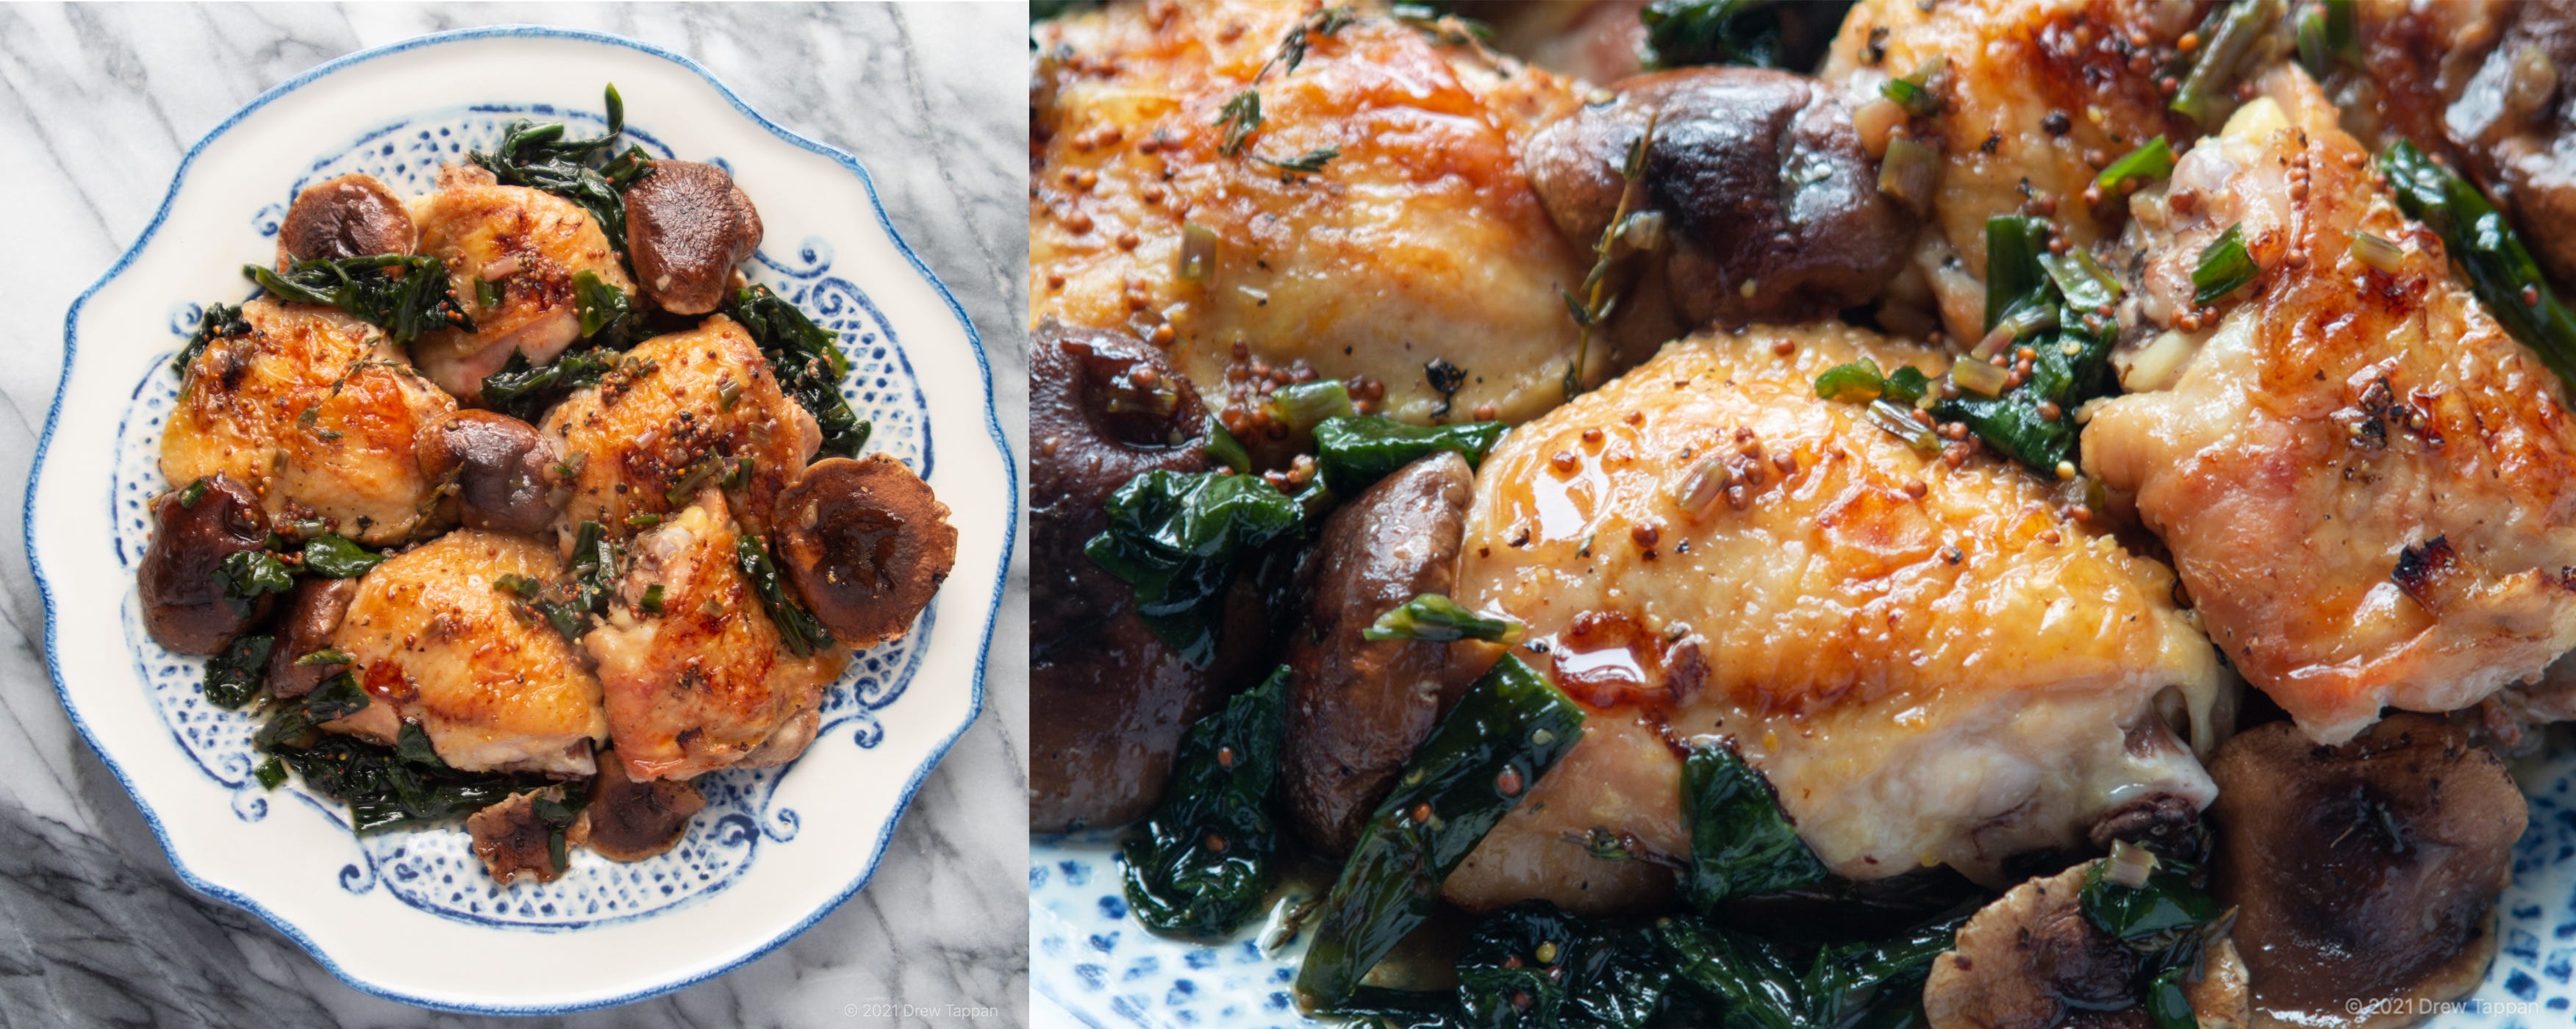
I cook a lot of chicken thighs. I mean a tremendous amount. Because they are delicious and inexpensive, and adaptable, I would probably cook a lot of chicken thighs even if I didn’t run a website called “The Chicken Thigh Guy” but because I do, well, I cook a lot of chicken thighs.
This recipe may (ok, probably will) end up on The Chicken Thigh Guy sometime in the near future, but it’s not a cop out. I developed this recipe this weekend because I had ramps and wanted to try something other than ramp pesto. Ramps are onions, onions and vinegar and mustard and mushrooms are great with roast chicken and … voila. Or something. My thinking may have been a little cloudy, but the end dish is really tasty.
This recipe uses a little cider vinegar and whole grain mustard to emulsify and manage the fat from the roasted chicken. That both makes the dish a little tangy, and provides the base of a simple sauce that makes the ramps shine, and is a great accompaniment to those crust rolls way up at the top of this newsletter.
4-6 bone-in, skin-on chicken thighs
6 sprigs thyme
8 oz shitake mushrooms
12 ramps
1 cup dark chicken stock
¼ cup cider vinegar
2 tsp kosher salt
1 tsp honey
1 tsp whole grain mustard
½ tsp ground black pepper
Season the thighs generously with salt and pepper.
Scatter thyme sprigs around the chicken and refrigerate, uncovered, for at least one hour and up to 6. This will slightly dry the skin (which will help it crisp) and scent the chicken with the herbs.
Preheat your oven to 375°F.
In an oven proof pan over medium heat, brown the chicken skin side town.
Turn the chicken skin side up and transfer to the oven to cook for 30 minutes.
Clean the mushrooms with a dry cloth and remove the woody ends of the stems.
Separate the ramp greens from the stems.
Finely chop the stems.
Coarsely chop the greens.
Remove the chicken from the oven, remove from the pan and set aside.
Discard all but about 1 tbsp of the rendered fat from the pan.
Over medium heat, add the chopped ramp stems to the fat and cook for 1 minute.
Add the stock, vinegar, honey, and ramp tops.
Cook until the liquid is reduced by half and the ramp tops are dark and soft.
Return the chicken to the pan, arrange the mushrooms around the chicken and spoon some of the sauce over both the chicken and the mushrooms.
Return to the oven to cook the mushrooms and re-warm the chicken – about 15 minutes.
Serve with crusty bread and confit potatoes.
Rhubarb and Apple Crumble
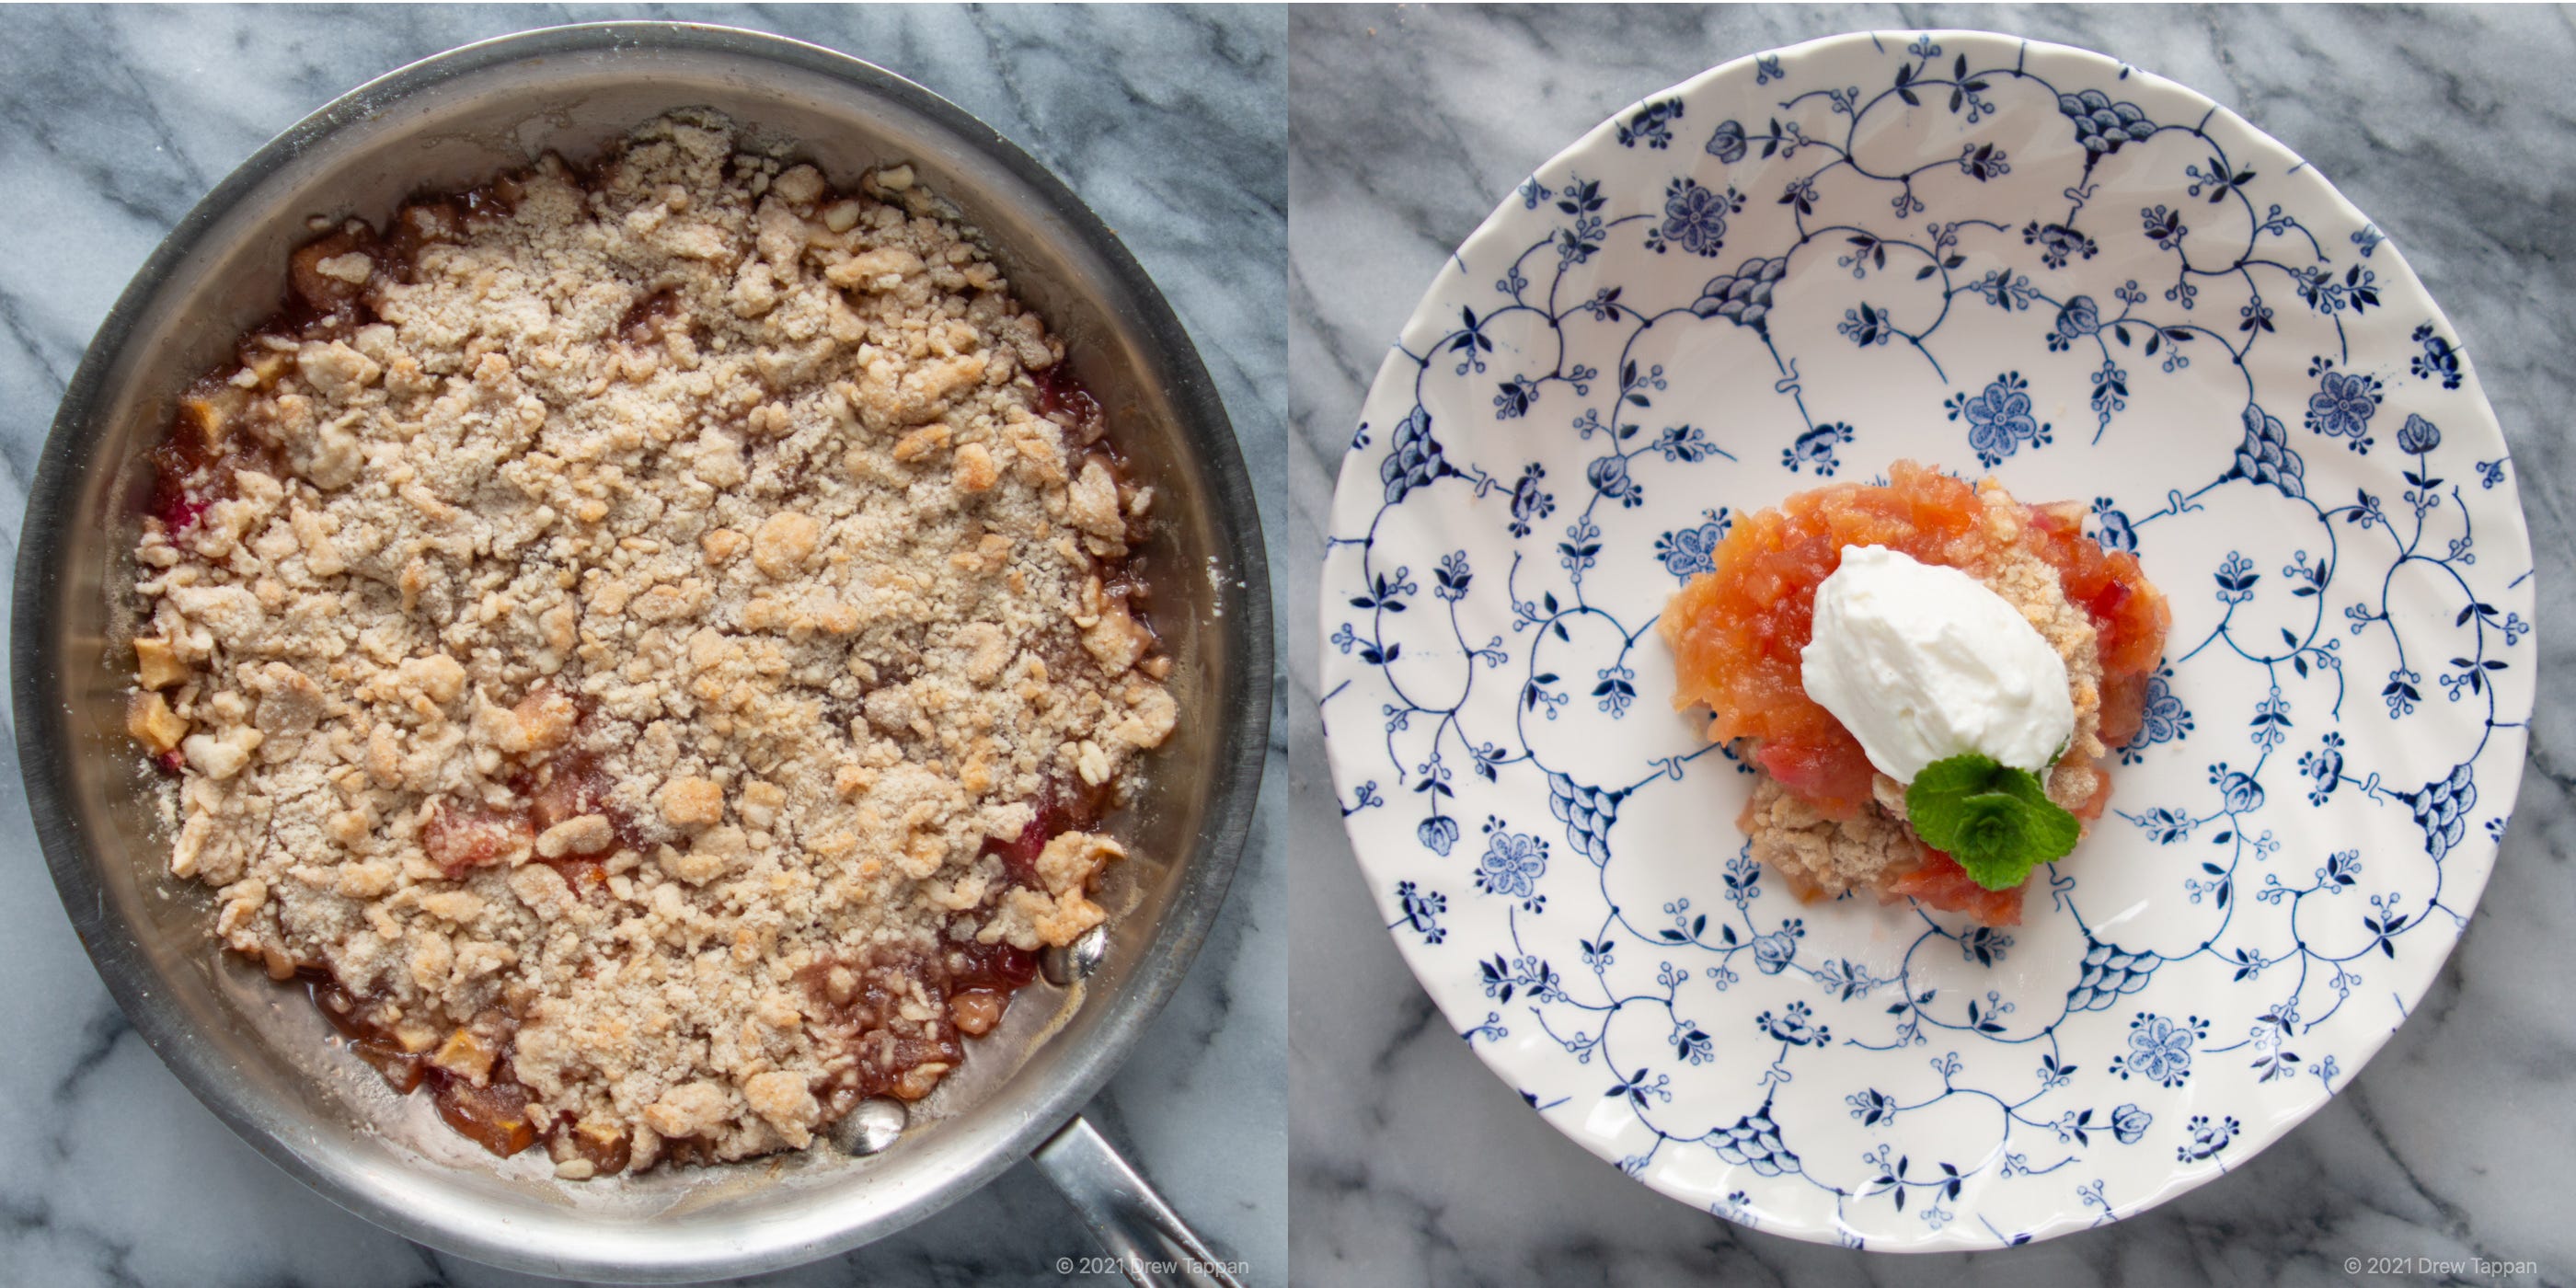
Crisps and crumbles are better than pie. Fight me. No, really, all the flavor and texture with a lot less fuss. I love them. Some of this is because apple crisp was probably the single most common dessert in my house crowing up. Some of it is because I am incredibly lazy when it comes to dessert. Also, I am apparently congenitally incapable of rolling dough into a circle. No dough circle = crappy pie. It’s why I like crumb crusts and crostadas and other cheats.
Rhubarb is one of the first harbingers of spring around here. It’s probably a vegetable, but everyone treats it like a fruit. So … early spring, cooking ramps (another harbinger of spring) and I’ve gotta make a dessert? The answer is rhubarb crumble. I’ve cut the wonderfully sour rhubarb here with apple – both because some folks are adverse to the assertive nature of rhubarb and because … well, I didn’t have enough rhubarb. Gotta be adaptable, folks.
1 cup finely sliced rhubarb stems
1 cup peeled and diced granny smith apples
¾ cup granulated sugar (divided)
½ cup plus 1 tbsp AP flour
2 tbsp unsalted butter
1 tsp ice cold water
¼ tsp kosher salt
¼ tsp vanilla extract
¼ tsp ground cinnamon
¼ tsp ground cardamom
Preheat your oven to 375°F.
Combine rhubarb, apples, 1 tbsp flour, and ½ cup of the sugar in a greased oven proof pan.
Allow to rest for 10 minutes.
Combine the remaining ½ cup flour ¼ cup sugar, cinnamon and cardamom in a mixing bowl.
Using a box grater, grate the butter into the flour/sugar mixture and combine well with a fork.
While stirring, add 1 tsp ice water and ¼ tsp vanilla extract.
Sprinkle the topping mixture over the fruit and bake at 375°F until the topping is crisp and browned.
Serve with whipped cream or ice cream.