


Sometimes you just don’t have the energy for a big meal. Sometimes all you want is a really good sandwich.
This week’s menu isn’t a menu. It’s not even a parade of vaguely related dishes. It’s a sandwich. Just one sandwich.
For the past month I’ve been trying to make myself the perfect pastrami sandwich and I decided to make it all from scratch.
There was no real reason to do this. I can buy decent, even good rye bread. Quality mustard isn’t hard to find. I can even get my hands on pretty good pastrami – though I’d probably have to have it shipped If I wanted something better than the oddly shiny stuff sold from the local grocery’s deli counter.
In the end, I did all this because I wanted to. Because I wanted to make a sandwich from scratch.
Probably should have milled the flour – but somehow that seemed a step too far.
The Sandwich
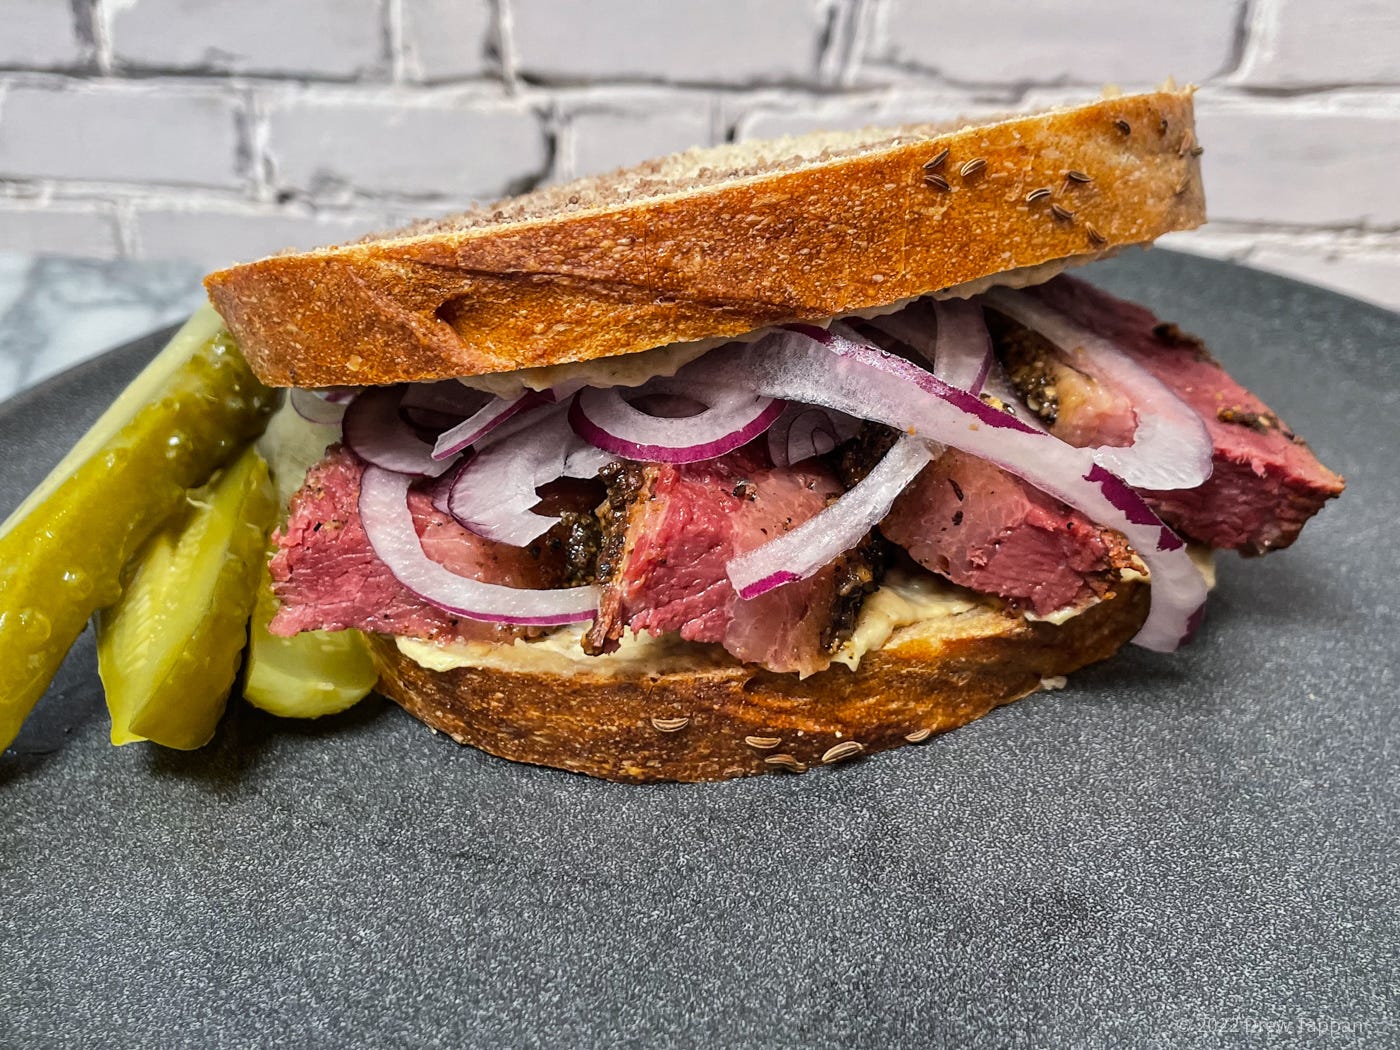
2 slices Caraway Marble Rye
1/3 lb thick sliced Coca Cola and Cel-Ray cured pastrami
2 tbsp homemade mustard
½ cup very thinly sliced red onion
Spread both pieces of bread with mustard.
Pile the lower slice with warm, thick cut pastrami.
Add a pile of very thinly sliced red onion.
Top with the other mustard slathered piece of bread.
Have a pickle on the side. Maybe a Coke.
Caraway Marble Rye

As I was trying to decide what bread I wanted for this sandwich, I tried about 6 different varieties of rye bread – ranging from the brown bread I’ve included in past newsletters, to a traditional caraway rye. I settled on this mashup – a marble rye baked in a loaf pan as it gave me a soft bread with the tight crumb I wanted to support a big piled of soft smoked meat, and still had some of the more assertive flavors of the caraway rye and brown breads.
The instructions here make this look like a more complicated process than it actually is – most of the weirdness comes from separating the dough into two pieces in order to make the marbled loaf.
500 g Bread Flour
200 g Dark rye flour
455 g filtered water
7 g instant yeast
12 g salt
20 g dark unsweetened cocoa powder
2 tsp caraway seeds (divided)
1 tbsp granulated sugar
Add the water and yeast to the bowl of a stand mixer fitted with a bread hook.
Allow to stand ten minutes for the yeast to dissolve.
Add the flours and salt and mix on low until well combined.
Add 1 tsp of caraway seeds and the sugar to the container of a spice grinder or to a mortar and pestle.
Grind until fine.
Add the caraway sugar to the dough.
Allow the mixer to knead the dough for 10 minutes.
Dive the dough in half, leaving half in the mixer.
Add the cocoa powder and mix on low until totally incorporated into the dough half.
Cover or bag the two dough balls and allow to proof until doubled in size – about 90 minutes in my 72° F kitchen.
Shape the two dough balls into rectangles, and layer them on top of each other.
Roll the dough into a cylinder, and tuck in the ends.
Grease a large loaf pan and place the rolled loaf in the pan.
Allow to proof 35-45 minutes, or until the loaf has almost reached the top of the pan.
Preheat your oven to 375°F.
Brush with cool water, and scatter with the remaining caraway seeds.
Score the top of the loaf with a sharp knife or bread lame.
Bake at 375°F for 45 -50 minutes or until the loaf looks dark and burnished.
Allow to cool completely before slicing.
Garlic Dill Pickles

We make and eat a lot of fermented foods in our house – sauerkraut, kimchee, pickles of various sorts, even yogurt. While there are lots of purported health benefits from active cultures and what not, we pretty much entirely do it because they taste good. Homemade kraut or kimchi are unbelievably more tasty and crunchy than store bought. And pickles … unless you have access to a really great pickle shop, you just can’t get anything like good home fermented dill pickles.
The actual process of making these is simple – but you do have to be very careful about cleaning your containers and any tools. Your choice of fermenting vessel will also make a big difference – you want to choose something that will allow you to keep the cucumbers below the surface of the brine. For years I used old style german fermenting pots, but they were difficult to clean. Now, I use these clever airlocked kimchi fermenting containers which you can find online, or at many Asian grocery stores (where they’re usually considerably less expensive than online)
2 lbs pickling cucumbers
4 quarts filtered water
6 oz kosher salt
4 tbsp minced garlic (fresh – do not use jarred garlic)
5-6 stems mature dill (I use the gone-to-seed heads and stems from our garden)
Clean the cucumbers well, using a spoon to scrape away the blossom end of the cucumber.
Sink the cucumbers in cold filtered water, and soak for 4-6 hours.
Bring the water and salt to a boil.
Allow to cool to room temperature.
Add the garlic and dill to the brine.
Remove the cucumbers from the cold water, and add them to a very clean container large enough to allow you to weight them down – it’s important that the cucumbers stay below the water surface.
Allow to ferment in a cool – but not cold – place for at least two weeks.
Cel-Ray and Coca-Cola Cured Pastrami
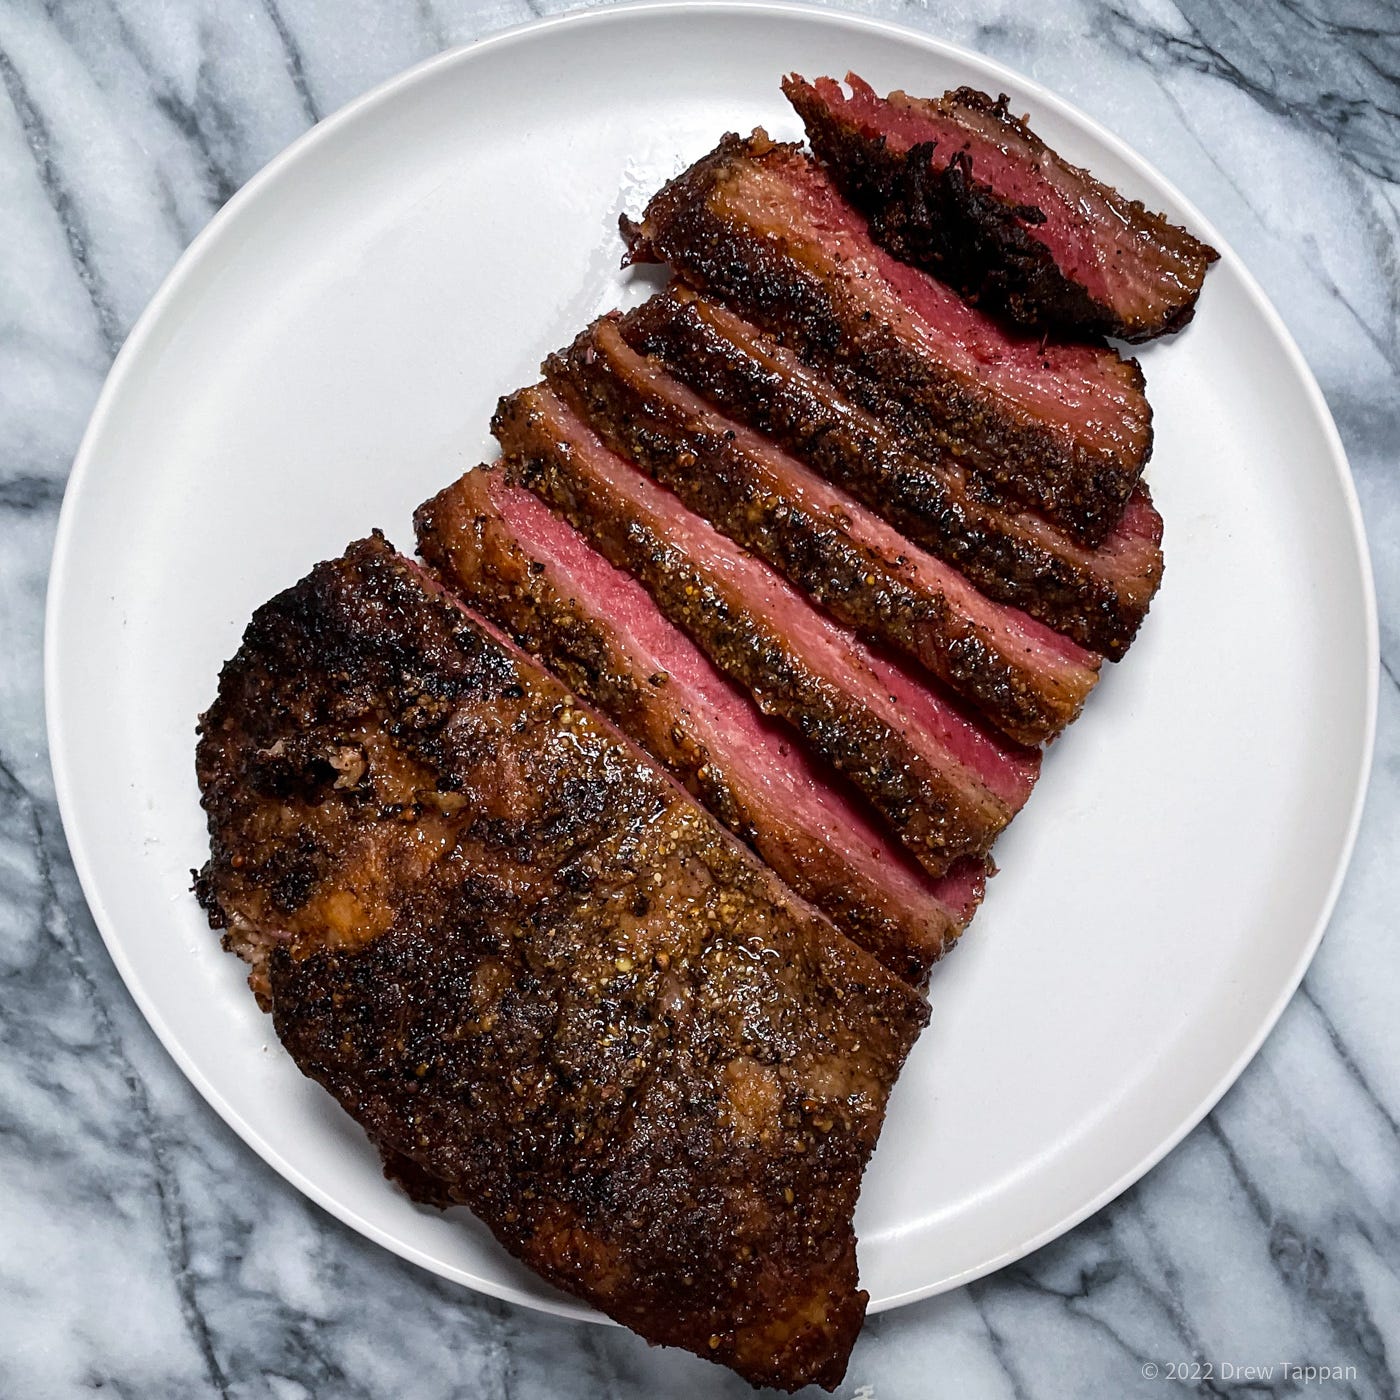
I cured, smoked, and steamed three different cuts of meat while developing this recipe – and while I got some really interesting results from the chuck and cab roasts I experimented with, in the end I settled on the old favorite – brisket. To be honest, I think that decision was more from an aesthetic standpoint than anything else. The chuck roast was difficult to properly cut because of the way the grain was aligned. The cab yielded some really wonderful tender pieces with interstitial fat that kept it tender, but was an irregular shape that made building a sandwich out of it difficult – especially as I knew I wanted nice thick slices of pastrami in my final product. So finally it was brisket. My smoker won’t hold a whole brisket- so when I made BBQ a few weeks ago, half of that cut went into the brine and that was it.
There are barbecue fanatics out there that will treat pastrami in the same as a Texas style brisket – and I’m sure that’s fine. In my case, I want the smoke to be a little less assertive, so instead of smoking the cut all the way, I smoke it for a few hours before steaming it to finish. It yields a nice tender piece of meat with a smokey – but not too smokey- finish and a bark that’s not powdery or flakey.

And the brine – I decide to use coke and cel-ray in the brine on sort of a lark … but it really works. There’s a hint of the celery seed flavor in the final product, and the caramel and acidity of the coke really help the meat color and texture. At least I think so? I honestly could just be projecting.
1 brisket, chuck roast, or other relatively fatty beef roast
1 12 oz can Dr. Browns Cel-Ray soda
1 12 oz can Coca Cola
6 all spice berries
4 cloves
2 bay leaves
1 1-inch piece of cinnamon stick
4 tbsp mustard seeds
2 tbsp black peppercorns
2 tbsp coriander seeds
4 tbsp kosher salt
1/2 tsp pink curing salt
2 quarts water
Add all the ingredients except the meat to a thick bottomed pot.
Bring to a boil and allow to simmer for 10 minutes.
Remove from the heat and allow to cool to room temperature.
Using a meat injector, inject the roast with the brine, then add the meat and the remaining brine and spices to a large heavy duty zip top bag.
Refrigerate the meat and allow to cure for at least one week – 2 weeks if you’re unable to inject the meat.
Remove from the brine, and soak overnight - refrigerated - in clean water.
Discard the water, pat the meat dry with a paper towel, then dust generously with pastrami rub (below) working to ensure that the rub completely coats the meat.
Smoke at 225°-250° F for 3-4 hours, or until the rob is beginning to darken and forms a bark.
Wrap the meat in foil and prepare a large pot with several inches of water with a strainer or steamer basket.
Steam the pastrami for 2-3 hours or until the internal temperature of the meat reaches 200°F.
Slice while hot or wrap tightly and refrigerate until ready to serve – the meat can be steamed to re-heat.
Simple Pastrami Rub
2 tbsp black peppercorns
2 tbsp yellow mustard seeds
1 tbsp coriander seeds
1 tbsp kosher salt
1 tbsp dark brown sugar
Add all ingredients to the container of a spice grinder and process until ground into a fine powder. Store in a tightly covered container until use.
Pretty Good Mustard
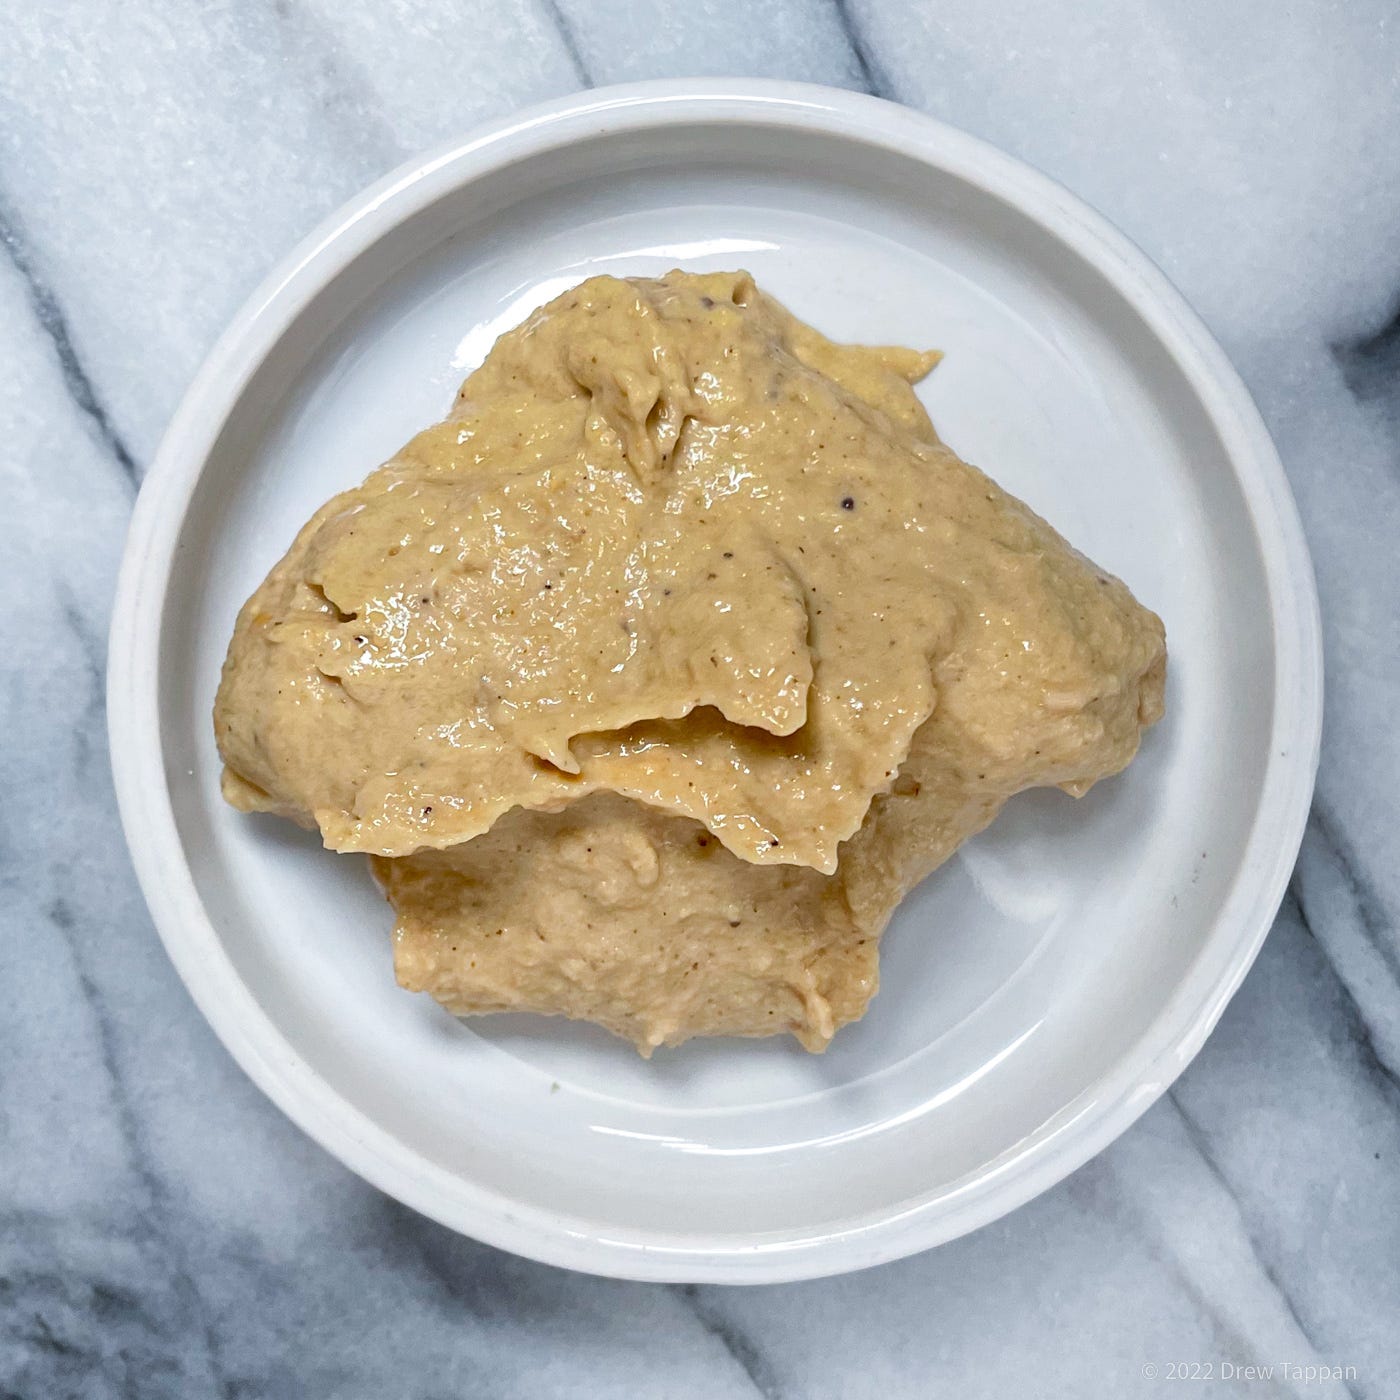
Homemade mustard is one of those deceptively simple things. The process is surprisingly easy – but tweaking it to get the flavor and texture you prefer, that can take a little while. The great thing is you can tweak it to make what you prefer. Like a course ground mustard spiked with baking spice? You can do that. A peppery mustard with a hefty dose of horseradish? Yeah. You get my point. After a few years of messing about with homemade mustard – and trying everything from a coarse ground black mustard seed variety that almost mimicked country Dijon to turmeric colored vinegar heavy hotdog mustard I’ve settled on this as my personal gotosignaturewhatever mustard
1 cup yellow mustard seeds
1 cup water
2 allspice berries
1 clove
1 tsp black peppercorns
1 tbsp fresh grated horseradish
3 tbsp white vinegar
1/2 tsp freshly grated/microplaned fresh ginger
dash of freshly grated nutmeg
Add the water and mustard seeds to a non-reactive bowl.
Cover loosely with plastic wrap.
Allow the mustard to soak overnight.
The next day, add the soaked mustard seeds and all remaining ingredients to the container of a high-speed blender or grinder and process until smooth.
Pour the mixture into a covered container and refrigerate for 1 week before using. The mustard will mature and become slightly spicier, and less bitter.