


The 32nd of Colduary
A brothy slapdash delicious brothy replacement for a failed experiment


I like to talk about mistakes here. Firstly because I’m pretty good at making them, and secondly because sometimes when you try new things – or even try things you’re familiar with but are tired or frustrated or just not paying attention – you make mistakes. Those mistakes can teach us a lot of great lessons: Sometimes it’s to forgive yourself for your mistakes, sometimes it’s “wow, that’s weird but it actually tastes good, maybe I’ll try that again, sometimes it’s don’t try to cook a bunch of fancy nice meat on sticks in the dark using a finicky tiny Japanese grill that you’ve never used before.
That last one was this weekend. It wasn’t quite an unmitigated disaster – primarily because the microwave was available for mitigation. It did however change my planned menu for the week from a Tiki (it’s that time of year again) inspired feast of delicious skewered meats to “well, it’s Monday, and I still wanna do something nice … what have I got in the house…”
So in the one day I had to work this week – wedged in between other work, a hockey game, some family dinners, and a rescheduled vacation, I leaned on a few familiar favorites, a few pantry items, and a few lessons learned from previous mistakes.
There will be no Weekly Menu next week, as I’ll be traveling and probably not cooking, maybe, unless I get weird and creative. See y’all again soon.
Thick Herb Focaccia
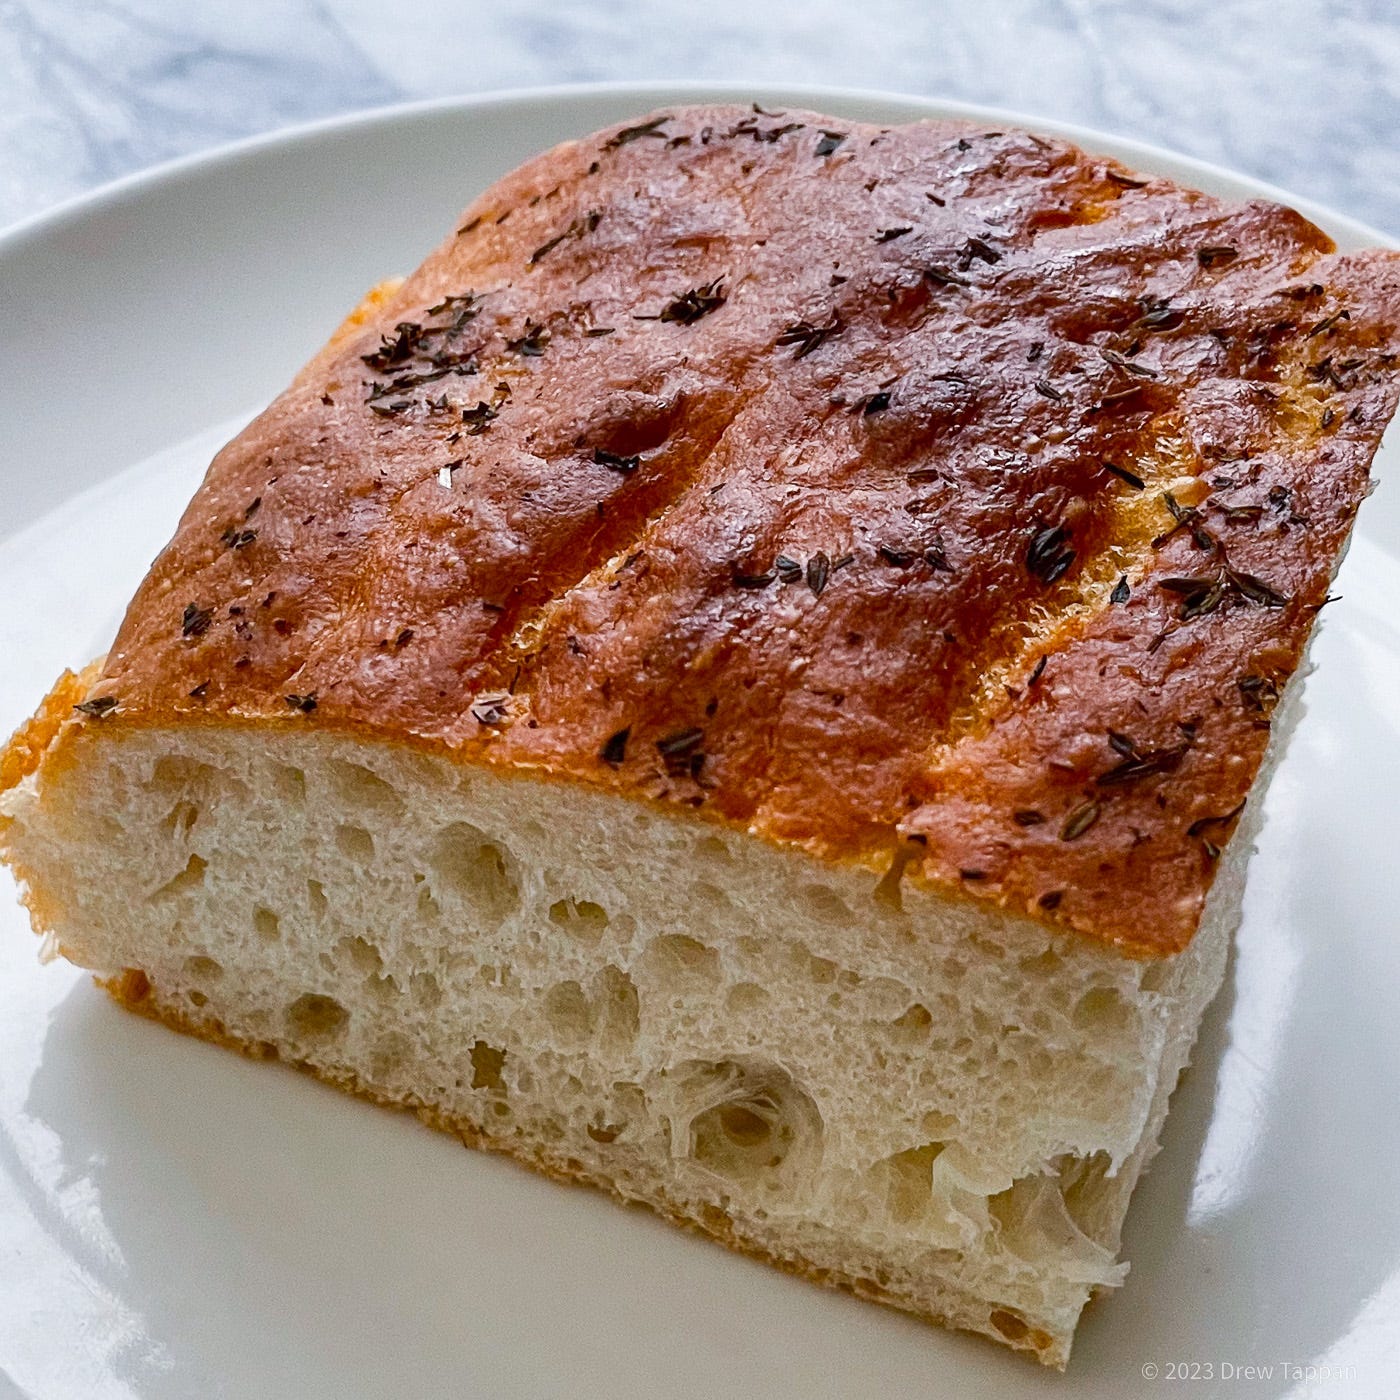
I make focaccia a lot. I make a lot of focaccia. It’s a fast and easy way to have fresh bread with dinner, and leftovers can be repurposed for everything from sandwiches to possibly the very best salad croutons. Sometimes I make it thin, almost pizza like. Others, like this recipe, produce a thick bread with a tight crumb that’s great for sopping up sauces – be that the assertively salty and mildly fishy dressing left at the bottom of a salat plate, or the giant steaming bowl of cheese fortified broth that comes with a bowl of homemade tortellini.
400g Bread Flour
340 g warm water
20 g olive oil
8 g kosher salt
7 g yeast
1 tbsp very finely minced fresh herbs (thyme and rosemary work best)
Add the yeast and water to the bowl of a stand mixer fitted with a paddle attachment.
Allow to proof for 10 minutes.
Add the flour, then the salt, and process on low until fully mixed.
Increase the speed to high, and process until the dough is shiny, elastic, and has pulled away from the sides of the bowl.
Stop the mixer.
Scrape the dough off the paddle, then restart the mixer, slowly bringing the speed back up while slowly adding the oil.
Once the oil is incorporated, scrap the paddle clean, cover the bowl lightly with a damp towel, and allow to rise until more than doubled in size.
Preheat your oven to 400°F.
Generously grease a ¼ sheet pan with olive oil, and using oiled hands, stretch and spread the dough to fill the pan.
Allow to rise in a warm place for 20-35 minutes.
Scatter the top with very finely chopped herbs, and bake at 450° F until browned and crisp at the bottom and the edges.
Serve with oil, salt, and herbs.
Escarole and Anchovies
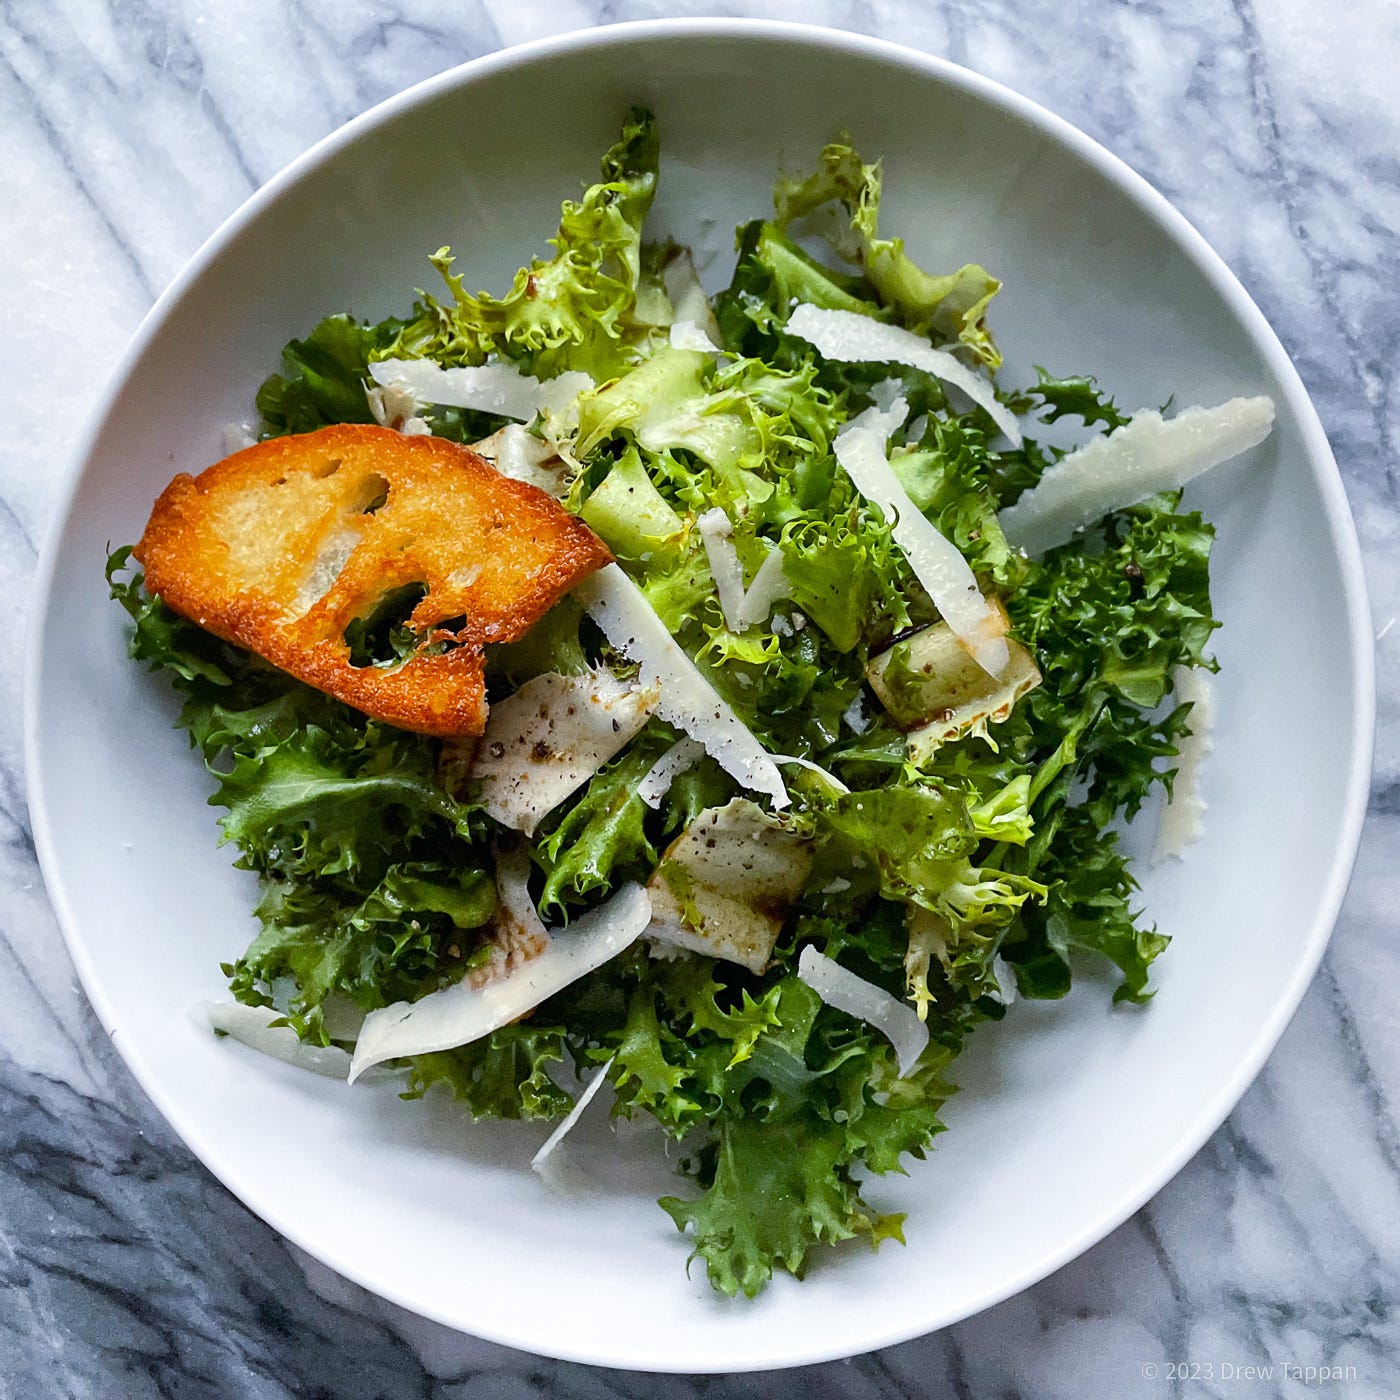
Another familiar favorite, mostly. if you’re a regular reader – and I hope you are because why then - other than a lifelong relationship with terrible horrible procrastination am I writing this at 6:30 AM on the day it’s due out – you’ll already know and love – or be slightly annoyed by – my sort of obsession with using sturdy bitter greens in salads. There’s something much more appealing there – with the crunch, the bracingly bitter foil to rich foods – than to a pile of twee tender lettuces wilting under a heavy dressing ad a few halfhearted garnishes. Plus, as in today’s offering, they can stand up to other divisive and assertive accompaniments.
Yes. Anchovies. Trust me. I used to hate them. The first time I tried to be a full grown sophisticated grown up type person and was asked “do you want anchovies on that Caesar salad” while on a date in a fancier than I would normally frequent sort of place, I said yes. I thought it was the full grown sophisticated grown up type person. I ate them. I think I was successful at not showing the shock and disgust on my face as those scary fishy little oily salt morsels hit my tongue.
Later in life, I learned a few things about anchovies. First was that what I thought were very fancy anchovies, on the very fancy Caesar salad at the very fancy pizza place weren’t any of those things. Second, anchovies can be pretty great in almost all forms. If treated in a way that respects their saltyfhishyweirdlyassertive place in like and cuisine.
This salad is – at least to my tastes – one of those places. The dressing is simple, but packed with flavor, and a great balance to crisp bitter availbleinmidwinter greens.
1 head escarole or curly endive
2 oil cured anchovies
2 cloves garlic
2 tsp balsamic vinegar
1 tsp cold water
3 tbsp good olive oil
¼ tsp prepared Dijon mustard.
fresh ground black pepper and shaved parmesan cheese as a garnish
Chop the escarole into 1-2 inch pieces. You can opt to discard the tips of the leaves as they can be wilted and are tougher than the crisp stems.
Place the greens in cold water and allow to soak for 30 minutes.
Peel, trim, and crush or microplane the garlic.
Add the vinegar, garlic, and anchovies to the bottom of a large salad bowl.
Using the back of a fork, crush the anchovies and garlic into as fine a paste as you can manage.
Whisk in the water and mustard.
Whisk in the oil – it may not form a smooth emulsion.
Drain the escarole well and toss with the dressing.
Garnish with shaved cheese and lots of fresh ground black pepper.
Fresh Cheese
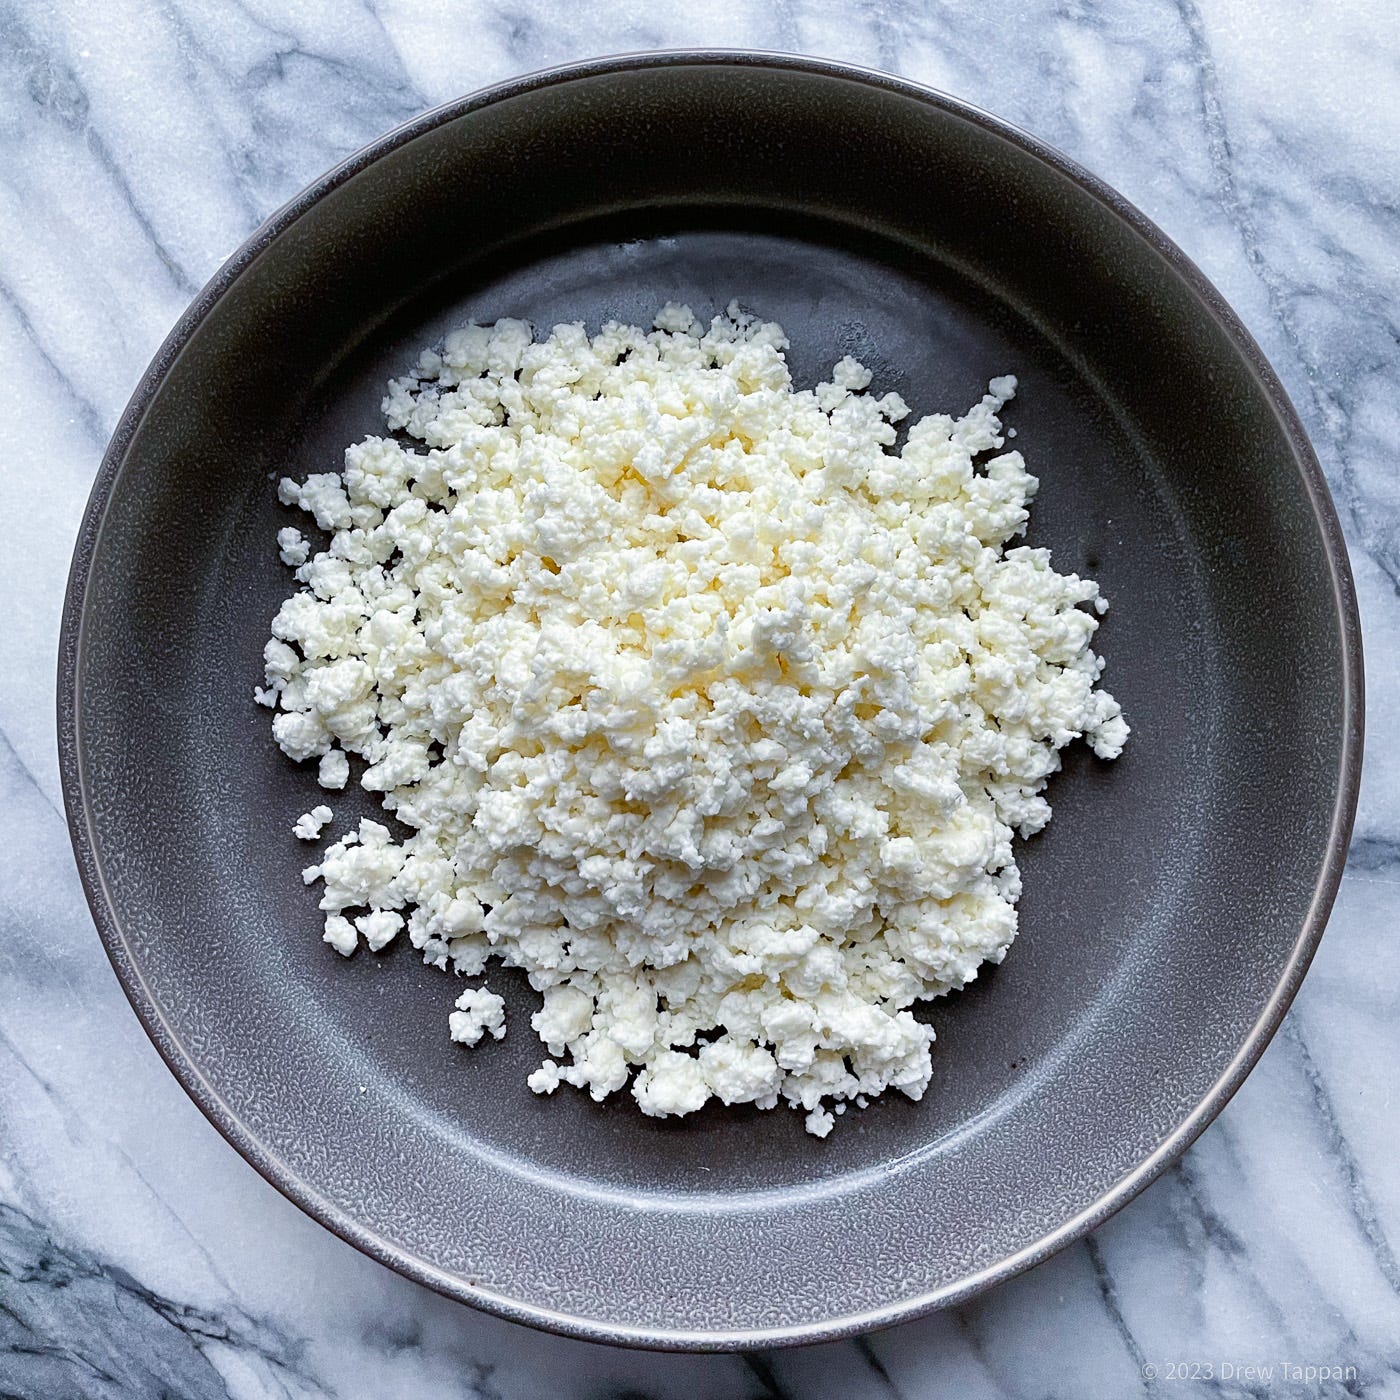
It’s not ricotta, but most recipes call it something like that anyway – and the truth is that for most of us it’s a distinction without a difference. This fresh cheese is quick and easy to make and it’s better than all but the best store-bought ricottas.
I’m including it here because - while I’m using it to fill pasta in one of the recipes below and would normally included it within that recipe, it’s a handy go-to for all sorts of stuff. You can use it as a filling, or mount it with a little fresh cream and use it as a spread. Simply add fresh chopped herbs, maybe some nuts and crunchy vegetables vegetables, or even just a sprinkling of salt and a drizzle of honey as a garnish and you’re good to go.
½ gallon good quality whole milk
¼ cup distilled vinegar or fresh lemon juice
2 tsp kosher salt
Add the milk and salt to a thick bottomed pan over medium low heat.
Just as the milk comes to a simmer, remove from the heat.
Stir in the lemon juice or vinegar, cover, and allow to rest for 20-30 minutes.
Line a colander with several layers of cheese cloth – or use a flour sack towel and a strainer like I do – and slowly pour the mixture in to drain. The curd will remain in the basket and the when will drip thought.
Allow to drain for 15-30 minutes.
If using for filling, allow to cool and use as is.
If serving as a cheese course or spread as an appetizer, allow to cool completely, then fortify with ¼ cup heavy cream.
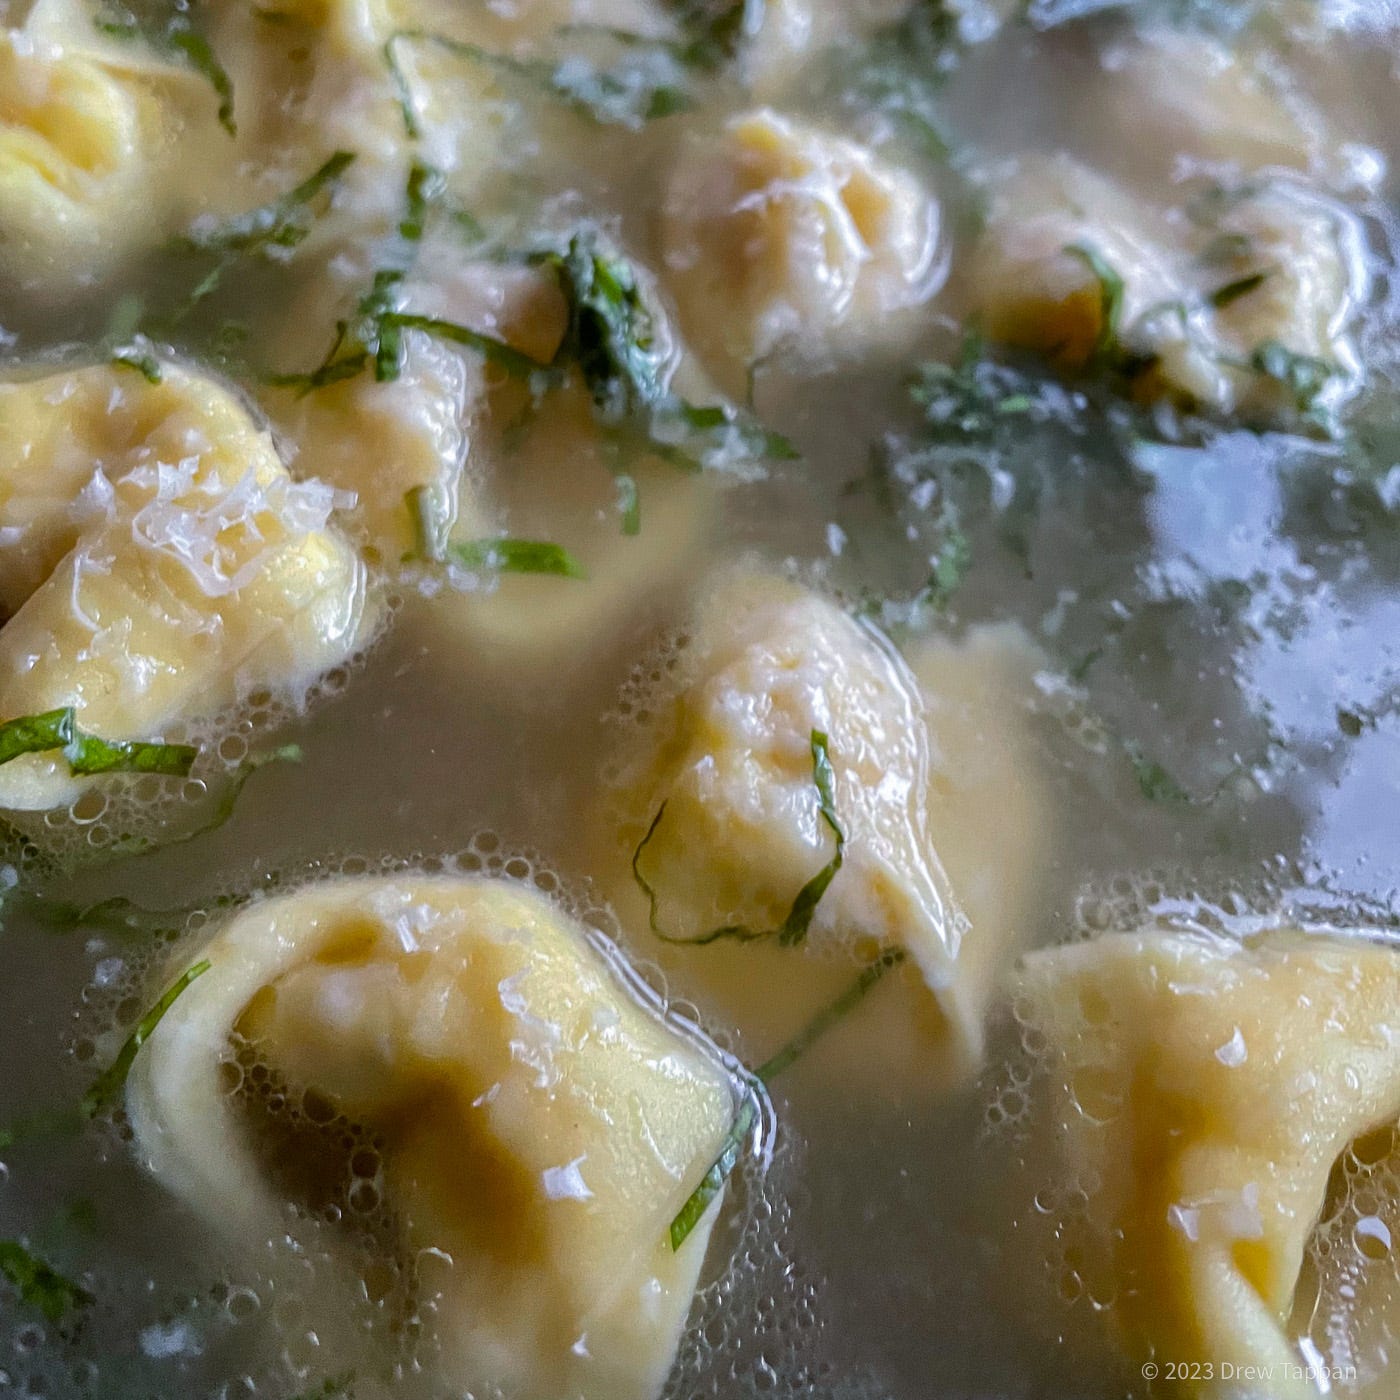
Tortellini en Brodo
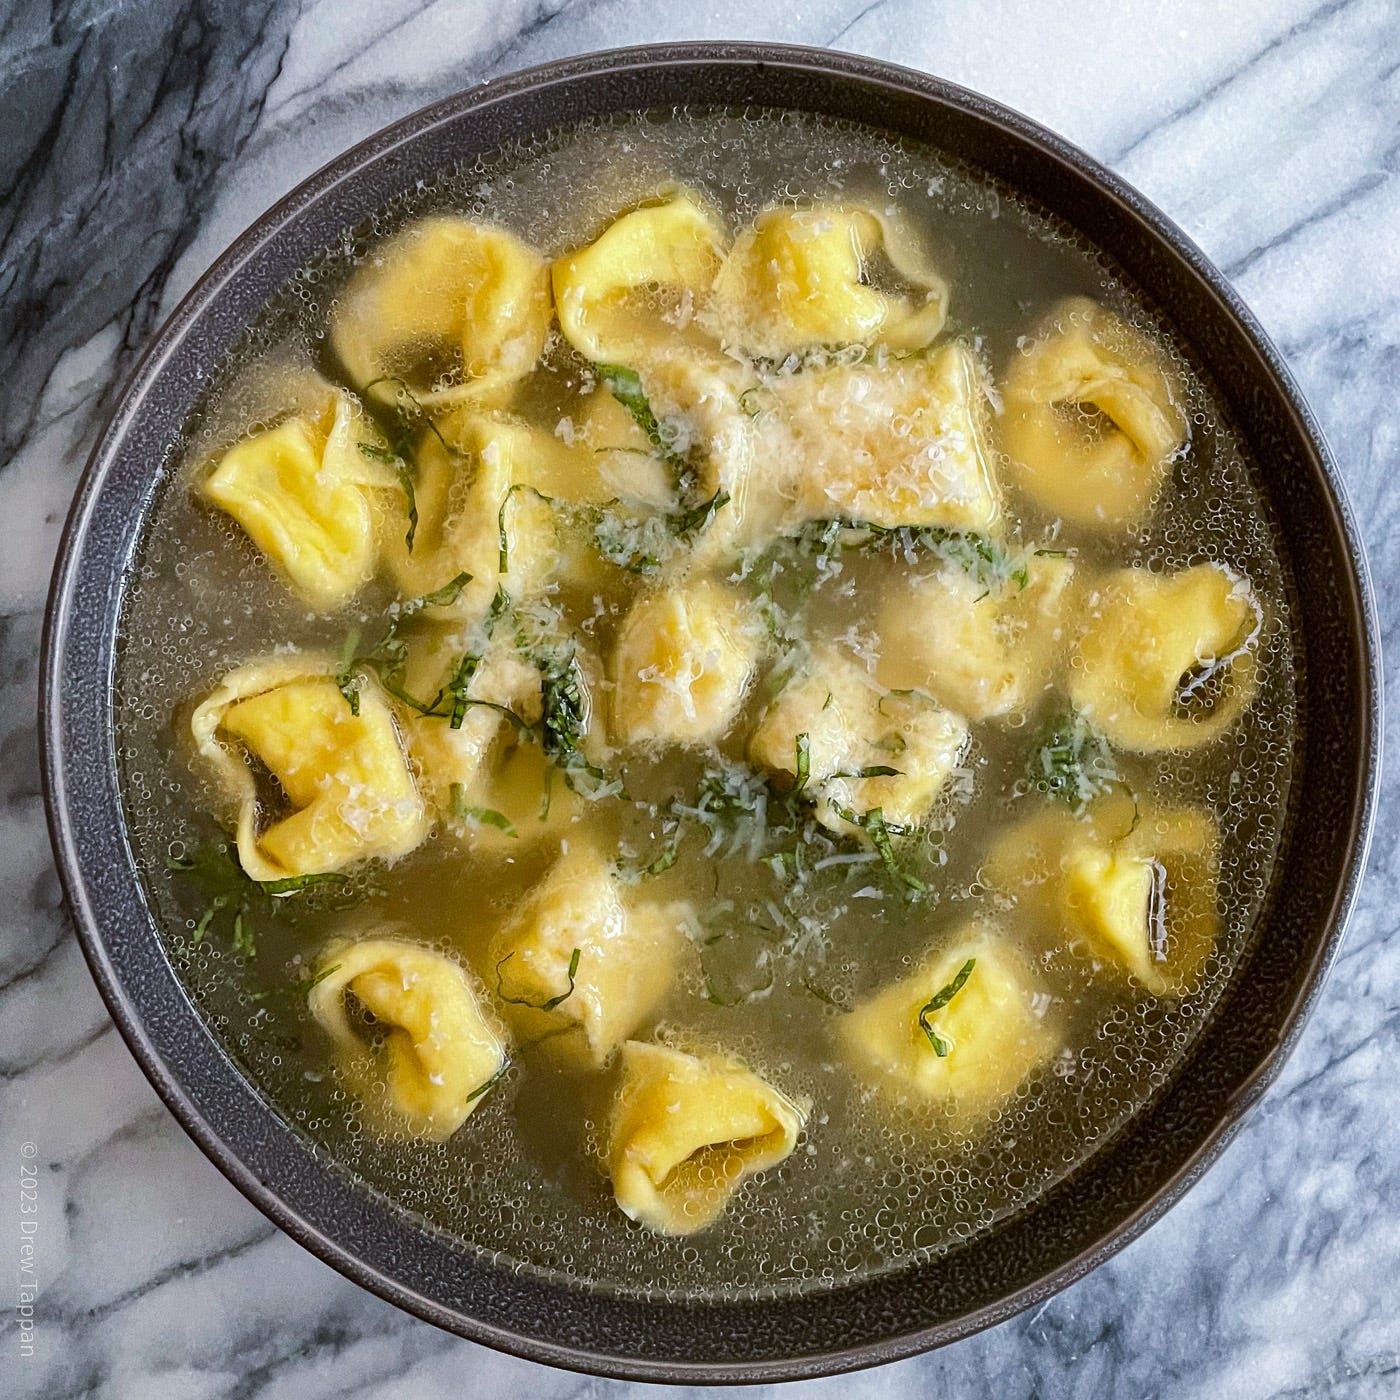
I don’t even need to write a whole lot about this dish because it sort of speaks for itself. Delicious precious little homemade tortellini swimming in cheesy rich chicken broth. Does it really need a fancier description?
I’m me, and this week’s menu (as mentioned above) was a what do I have in the house scurry. That means I made it all from scratch. I made chicken broth. I made pasta. I shaped tortellini and filled it with homemade fresh cheese.
You don’t have to do that. In fact, it’s an almost idiotic thing to do. Especially when the whole reason you’re doing it is that you’re short of time because you already made a mistake this week. But I didn’t have prepared pasta in the house, or ricotta from a grocery store, so I couldn’t use those to make the tortellini. I didn’t have prepared cheese tortellini in the house – if you do you can use it. Sure, the homemade stuff is homemade, but maybe you’re short of time.
I might draw the line at using prepared chicken stock instead of homemade, but that’s mostly because I’m a stock snob, and because I run another website that focuses on chicken thighs – so we’ve pretty much always got chicken stock In the fridge or freezer, or let’s be honest because it’s the 32nd day of Colduary, a pot of it simmering away on the stove.
I’ve provided step by step instructions for making a sort of quick shortcut tortellini - I shape them from square pasta pieces and enjoy the greater pasta to filling ratio for this particular dish. You can feel free to cut circles and have trimmer, more sophisticated little pasta pillow if that’s your thing. There are videos out there explaining both techniques – so have at it.
Brodo
6 cups homemade chicken stock
1/2 cup finely shredded parmesan cheese
2 2x2 inch pieces of parmesan rind
½ tsp fresh ground black pepper
4 medium leaves fresh basil
1 sprig fresh thyme
Bring the stock to a simmer.
Add the parmesan rinds, herbs, and black pepper.
Simmer covered for 30 minutes to 1 hour.
Strain out the solids, and return to the pan.
Whisk in the shredded cheese.
Pasta
2 cups AP flour
3 large eggs
½ tsp kosher salt
Add the flour and salt to the bowl of a food processor.
Add the eggs one at a time, pulsing to incorporate each.
The mixture will look crumbly. Test the mixture. If you can press it together into a smooth but stiff dough it’s ready. If not, add cool water in very small amounts – pulsing to incorporate, and testing in between additions, until it’s pliable.
Filling
1 cup ricotta or fresh cheese (above)
½ cup finely shredded parmesan cheese
1 large egg
½ tsp fresh ground black pepper
pinch of nutmeg
1 tbsp finely chopped fresh basil
Preparing the Tortellini
Using a pasta roller, or brute strength (and a roller or wine bottle) roll the pasta very thin.
Cut the pasta into 1 ½ - 2 inch squares.
Keep the pasta you’re not working with wrapped or covered to prevent drying out.
Working several squares at a time, place the squares on a flat floured surface.
Run a water dampened finger along the edge of each square.
Place a small dollop of filling in the center of each square.
Fold the square diagonally into a triangle-trying to press out any air – and pinch closed at the edges.
Bring two points of the triangle together and pinch to form a sort of Pope Hat shape, then turn the point down away from the pinched tips.
Arrange on a well-floured sheet pan or plate and dust with flour to prevent sticking.
Repeat with remaining pasta and filling.
Bring a large pot of heavily salted water to a boil.
Working in batches if necessary, boil the tortellini for three minutes.
Transfer into heated bowls, and ladle with brood.
Top with additional shredded Parmesan Reggiano and chiffonade fresh basil.
Caramel Budino

It’s pudding. No really, it’s just a nice rich caramel pudding with a fancy Italian name - which I most often if not always spell wrong. I really really want there to be like three extra O’s in that word. I think I spend to much time reading French recipes.
Anyway, this is another quick and easy get it on the table recipe that doesn’t require too much that you’d have to fetch from the market and even if you did that could be a corner store or even one of those sort of bigger than a gas station gas stations that has that one cooler between the beer and energy drinks that has a carton of eggs, some milk, and a questionably aged sandwich in plastic triangle in it.
Like all good do it by the seat of your pants recipes, this relies on a short cut that requires you pay a bit more attention for a much shorter time. Rather than slowly boiling sugar syrup to make caramel, I just burn the sugar in the bottom of a dry pan. Not all the way burn it, just nice quick melty fast caramel burn it. It means you have to carefully watch the pan, but it means you have to carefully watch it for about 2 minutes instead of somewhat less carefully watch it for 30 minutes.
2 cups heavy cream
2 cups whole milk
1 cup granulated sugar
2 tbsp corn starch
2 egg yolks
Add ½ cup of the sugar to a dry thick bottomed pan over medium heat.
Once the sugar has fully melted and turned a rich brown, add the milk, remaining sugar, half the cream, and bring the mixture to a simmer.
Cook, stirring frequently, until the caramelized sugar is fully melted into the mixture.
Whisk the cornstarch, remaining cream, and eggs together in a large non-reactive bowl.
While whisking vigorously, slowly pour about ½ the milk mixture into the egg mixture.
Reverse the process and while whisking, pour the egg mixture back into the full pan.
Cook, while whisking, for 203 minutes, or until the mixture boils and thickens.
Push through a strainer to remove any lumps, and pipe or ladle into serving containers.
Chill, top with any garnish desired, and serve chilled.